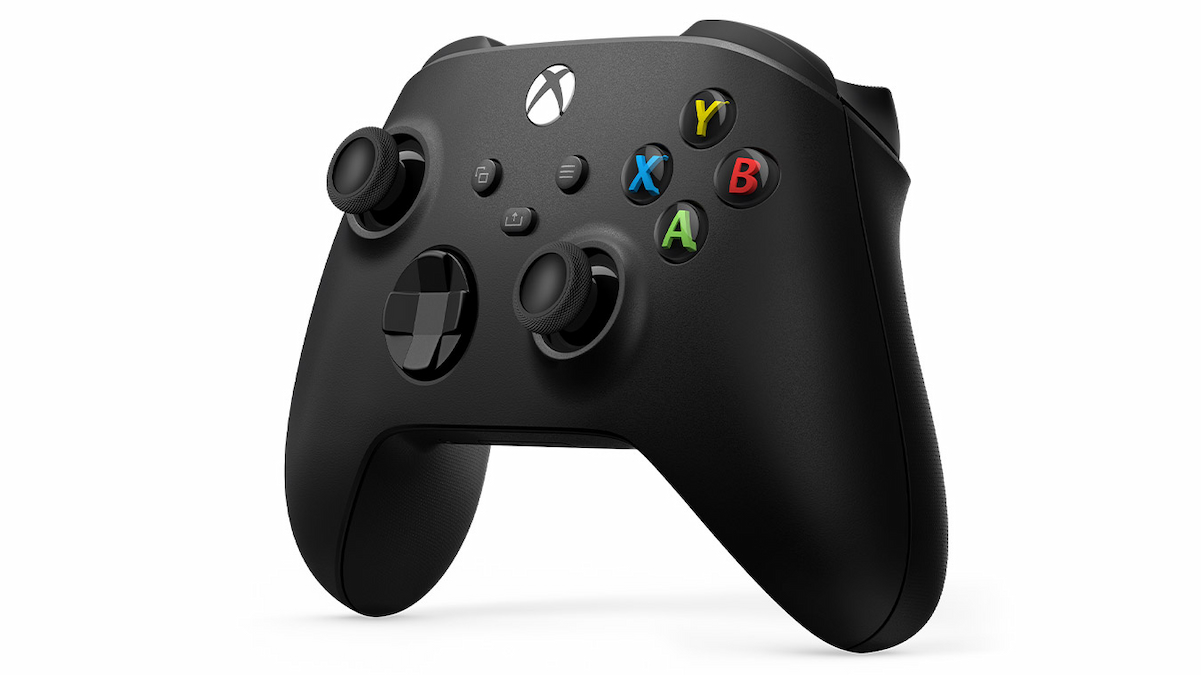
Playing PC games using a controller with its default input latency may work for most. But what if you want to push your controller to the next level? Then overclocking your controller may provide exactly what you need. Doing this can reduce the input lag in your controller by a considerable amount, allowing you to fully optimize your gameplay. This guide will take you through the steps on how you can overclock your controller when playing on PC.
To begin, you will need to download the ‘hidusbf.zip’ file from this page on GitHub while making sure not to get it confused with the ‘hidusbfn.zip’ file. Once you download it, open your file explorer, go to “hidusbf,” highlight the ‘Driver’ folder, and extract all of the files to whichever location on your PC you prefer. Then, you go to wherever you extracted the files, open the Driver folder, and click on ‘Setup,’ at which point you follow the instructions given to have the application installed.
How to unlock your PC controller
If done correctly, you should end up on the ‘USB Devices Rate Setup’ page. There, you click on the dropdown menu next to ‘Devices’ and make sure you select ‘All.’ Look for the name of your controller on the list and click on it before hitting the ‘Install Service’ button located at the bottom. Afterward, click on the dropdown menu near ‘Selected Rate’ and choose ‘1,000’ before clicking on the ‘Install Service’ button again. Then, you simply check the ‘Filter on Device’ box and click the ‘Install Service’ button one last time. Make sure that you keep the controller name highlighted as you complete these steps.
After all that, unplug the USB of your controller from the PC before plugging it back in. Upon doing so, the row containing your controller name should display the word ‘Yes’ under the ‘Filter?’ column and the number ‘1,000’ under the ‘Rate’ column. If you see this, then you can safely say that your attempt to overclock your controller on PC has succeeded.
Image via Sony Interactive Entertainment
