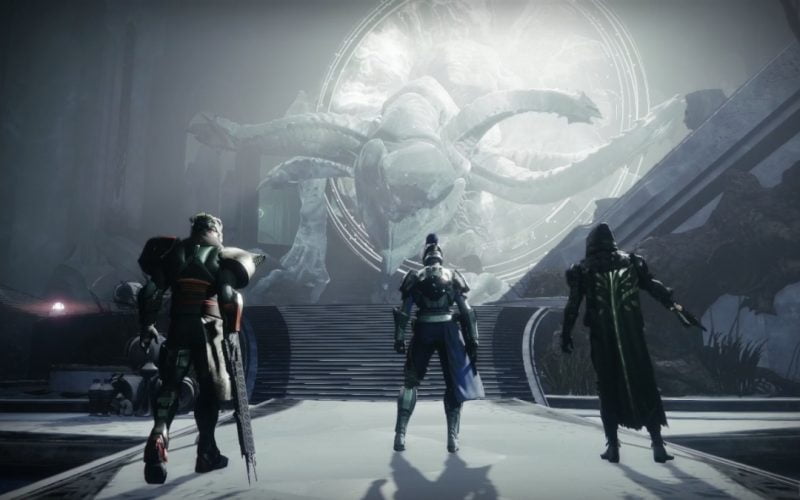
Riven’s Lair: A Guide to Completing a Tricky Activity in Destiny 2
Riven’s Lair is a challenging yet enjoyable Activity in the Season of the Wish. As is customary in Destiny, Guardians are left to their own devices when it comes to figuring things out. If you’re finding it difficult, fear not, as I can assist you in completing the Riven’s Lair Activity in Destiny 2.
How to Beat the Riven’s Lair, Explained
Begin the activity by selecting Riven’s Lair in Helm and heading up the staircase to the left. Several portals dictate what challenges you’ll face in the Lair, so here’s a guide on overcoming each one from left to right.
How to Beat the Left Portal in Riven’s Lair
The leftmost portal is home to a brutal obstacle course with traps that instantly kill even the toughest Guardian. Be patient, especially during the start of the season, as these snags will claim countless lives before players figure out what to do. Your goal in the first room is to find three plates to stand on, which will open the door to the next area
How to Get Past the Spikes in Riven’s Lair in Destiny 2
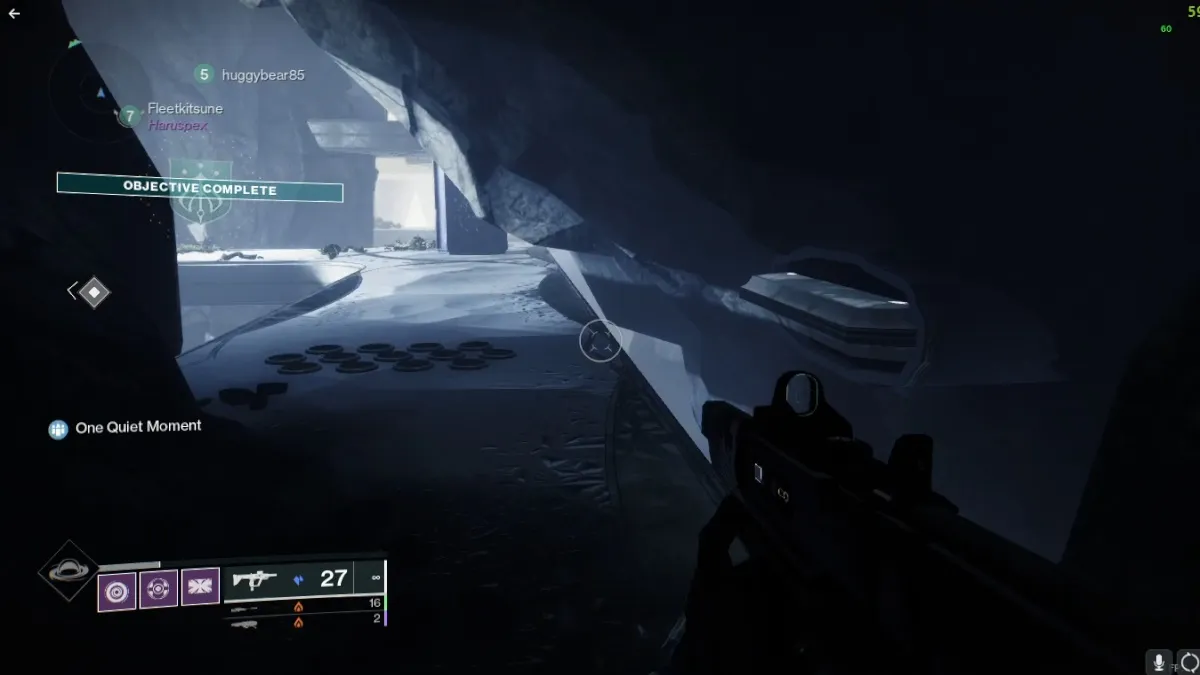
Spike traps are an obnoxious obstacle and seem to have a hitbox much wider than they look. If you get close to the holes in the floor, the spikes will kill you, and even though it seems like you can squeeze around them, you’ll die trying.
I recommend jumping around the spikes or high above them whenever possible, as this seems to be the only way to avoid them. Take your time navigating the room and searching for the plates, as the respawn zone is in the previous area.
Fortunately, the next area is much easier. All you have to do is defeat the Vex to open the next portal. This room is similar to the first, complete with spike traps and plates. As before, be extremely careful traversing the area. Once you’ve activated every plate, you can enter the final room.
How to Defeat the Aspirational Construct
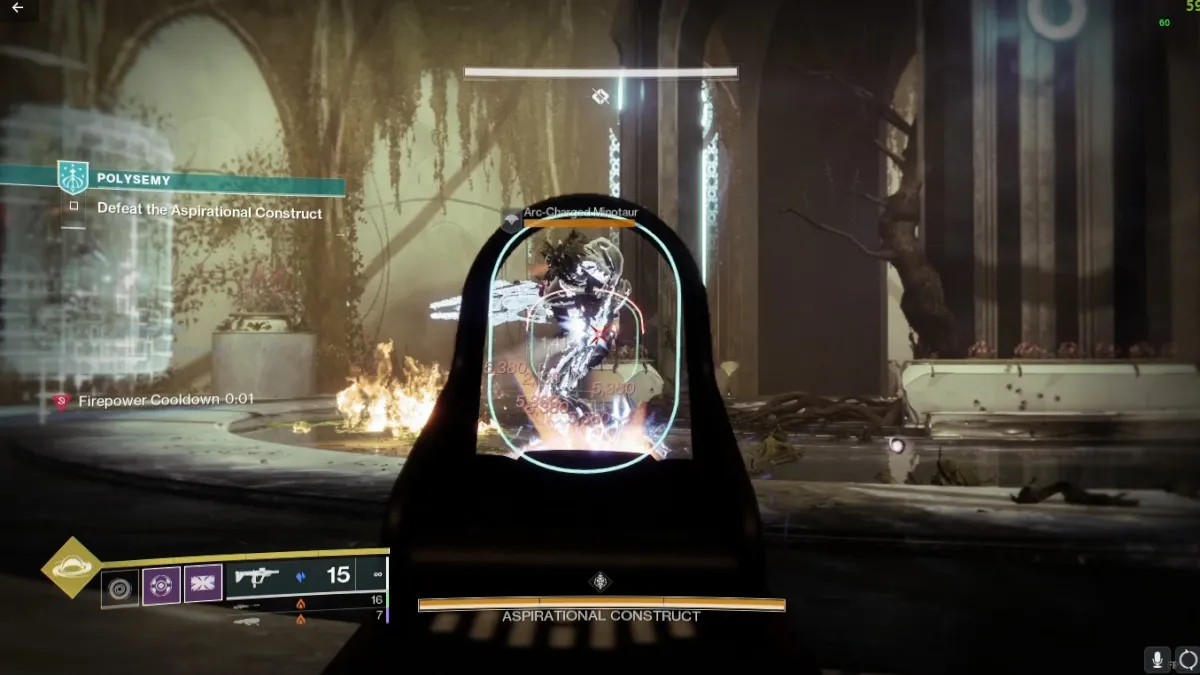
The boss in this area is immune until you break its shield. There are several Arc-Charged Minotaurs that drop an Arc Cranium on death. The Cranium works like a Trace Rifle and can damage the Aspirational Construct’s shields. Besides this mechanic, there’s nothing special about this encounter, and as long as you keep the mobs under control, you shouldn’t have too much trouble.
How to Beat the Center Portal in Riven’s Lair
The middle portal is mechanically straightforward but comes with a few obstacles to keep you on your toes. There are three plates you must find and stand on in the first room. The issue is there are large chasms to jump across with a low ceiling. You’ll usually fall if you hit the roof, but every jump here is possible. Most rooms you’ll face in the center portal bestow the ‘Pervading Darkness’ debuff. Pervading Darkness eventually slows you down, but you can cleanse it by standing in the large pools of light.
Light the Torches
To light Torches in the next room, you must defeat enemies until a Taken Witch appears. Defeat her and take the item she drops to one of the three unlit braziers. Once every torch is lit, a final wave of Taken will spawn. Beat them to open the next part of the Lair.
The next area is the same as the first, with plates to stand on and Pervading Darkness to manage. Make your way through the room and into the final portal.
How to Dispatch the Wardweavers

The final boss encounter is simple, although you must keep the mobs under control. Defeat the three Wardweavers; once you’ve done that, you can damage the boss. Roln’Gur is dangerous if he gets close, so ensure you keep your Pervading Darkness debuff under control with the light pools at the back of the room. Once the boss is defeated, you’ve cleared the activity.
How to Beat the Right Portal in the Riven’s Lair
The rightmost portal is complex as it has soft raid-like mechanics that are tricky to figure out on the fly. As with the other Portals, there are three plates you must activate by stepping on them. The catch is there are poisonous clouds that quickly drain your health if you stand in them for too long. Once you’ve activated every plate, the portal into the next area will open. This part of the activity is straightforward; you just have to clear the enemies to progress. The next room is similar to the first, with more plates to step on, but the tricky part is in the final room.
How to Defeat the Plaguewielder

Two large shielded enemies in the center are immune. Before damaging them, you must defeat the Mephitic Host enemies that drop an orb on death. The orb will bestow the Ephemeral Virus debuff on your Guardian, which has a timer. This Virus allows you to remove the shields by shooting so you can damage your opponents. Keep an eye on the debuff timer, as if it reaches zero, you die immediately. Step on the well in the middle of the room to remove the debuff before this happens. You’ll likely have to repeat the process with the Virus several times during the fight, but you should be fine if you keep the mobs under control. With every enemy defeated, you can claim your prize.
Other Destiny 2 articles
