
Deep Rock Galactic is a fun co-op shooter game where you play as one of the four main dwarves to fight through waves of bugs and mine minerals for company.
Besides mining and survival skills, hacking is also important in some missions.
In this article, we’ll show you how to use the hacking pod in Deep Rock Galactic. Let’s hack and stone, brothers!
Recommended Read: What Is Bittergem in Deep Rock Galactic?
To use the hacking pod in Deep Rock Galactic, you need to call it down first by holding the “E” key while looking at the Prospector Data Deposit or Power Stations. Once the hacking pod has landed, you must create a link between the hacking pod and the machines by placing the nodes found inside the hacking pod. When you’ve successfully linked the machines, press “E” again at the hacking pod to start the hacking process.
Table of contents
How to Use the Hacking Pod in Deep Rock Galactic
Let’s see all about hacking pods in Deep Rock Galactic!
Where to Find Hacking Pod?
Currently, you can only use the hacking pod to hack these 2 machines: Prospector Data Deposit and Power Stations.
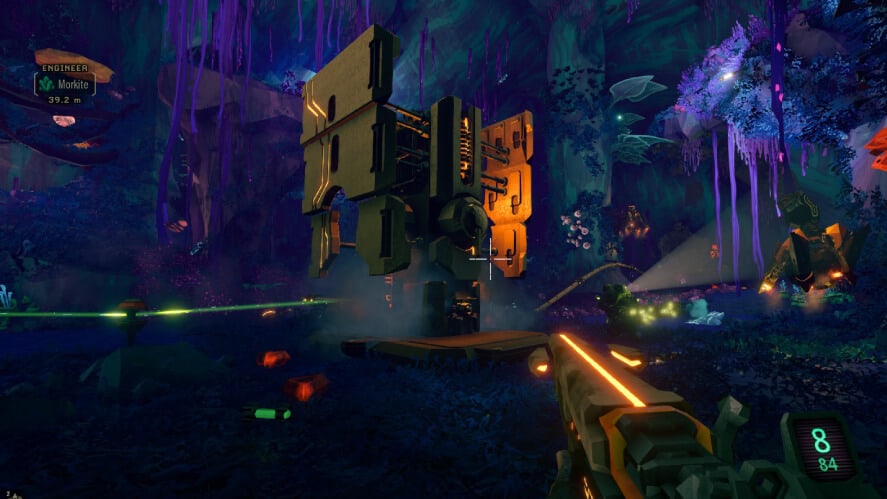
The Prospector Data Deposit is one of the three rival machines that spawn randomly in all mission types except for the Industrial Sabotage mission.
The spawn chance of the Prospector Data Deposit is not affected by mission length and complexity, so you can run multiple short missions to farm it.
On the other hand, Power Stations are only found in the Industrial Sabotage mission type. And each mission contains exactly 2 Power Stations.
Call the Hacking Pod
Once you have found any machines above, come close to them and hold the “E” key.
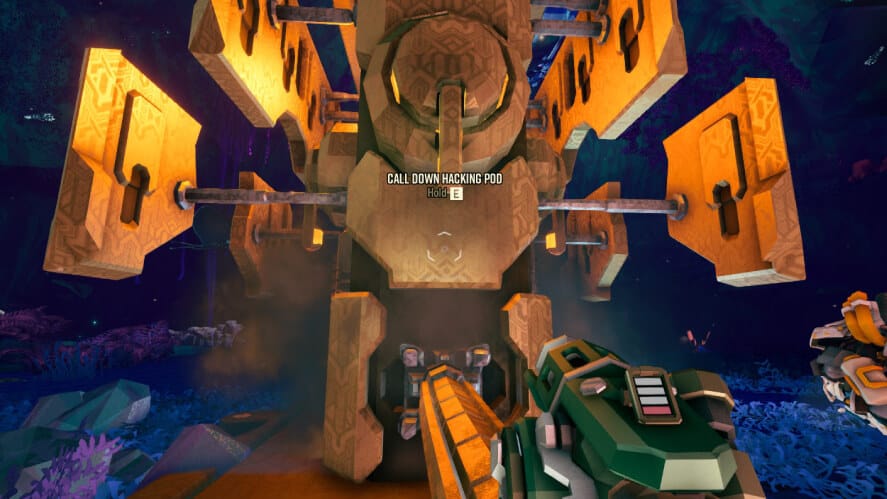
After a short time, your order will be placed, and the company will send the Hacking Pod down to Hoxxes.
Remember to check the map with your laser pointer for the Hacking Pod’s landing location. Also, stay away from the landing zone since the Hacking Pod can easily knock you down, just like a Resupply Pod.
Connect the Hacking Pod with Machines using Hacking Nodes
Once landed, you can see one open side in the Hacking Pod. That’s where you can get the nodes.
Press “E” to get the hacking node and your dwarf will carry it with some penalties like slower movement speed, can’t use guns, and laser pointers.
So, it’s recommended to toss the hacking nodes instead of carrying them all the way to the machines. You can do so by holding your left mouse button for a while and release.
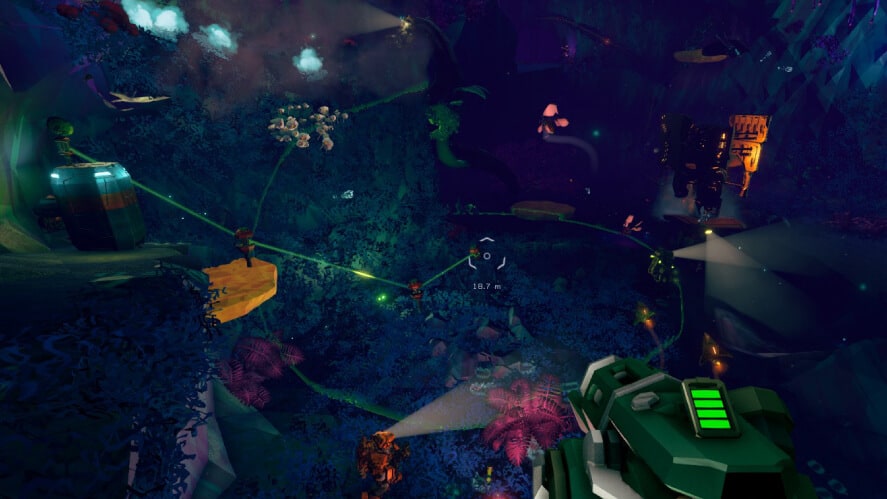
Once placed on the ground, each hacking node displays a light green circle around them, indicating the link range.
The first hacking node should be placed near the hacking pod. Then pay attention to the light green circle and place your next hacking node within this range.
Repeat until the machine is within this range of the last hacking node, and you will see an announcement congratulating you on linking the hacking pod successfully.
Any unnecessary hacking nodes will be destroyed at this moment, so make sure to optimize your linking path. Engineer’s platforms or Driller’s tunnels can help a lot with this process!
Now Let’s Start the Hacking Pod
When everything is done, go back to the Hacking Pod (not the Prospector Data Deposit or Power Stations) and prepare your formation.
- Scout should light up the area around the Hacking Pod
- Engineer should set up his sentry guns and platforms
- Gunner should set up his zipline and pick the best location to clear the bugs
- Driller digs a small tunnel for more spacing
Then look at the Hacking Pod and hold the “E” key to start the hacking process. A cute robot named Hack-C (or Hacksy) will jump out of the Hacking Pod and do its magic for you.
Be careful! Many bugs will start spawning, and their primary target is Hacksy. So, protect the robot at any cost!
If Hacksy is constantly attacked, the hacking process will be interrupted, and the hacking bot will return to its nest.
Don’t panic! Simply clear the bugs out and restart the hacking process by pressing the big button on the Hacking Pod.
Sometimes, enemies like the Exploders or Bulk Detonators can destroy the terrain that has the hacking nodes on them. Besides clearing out the bugs, you have to connect the Hacking Pod and the machines with hacking nodes again, which is extremely painful.
That’s why it’s better to lure those bugs outside of the hacking area.
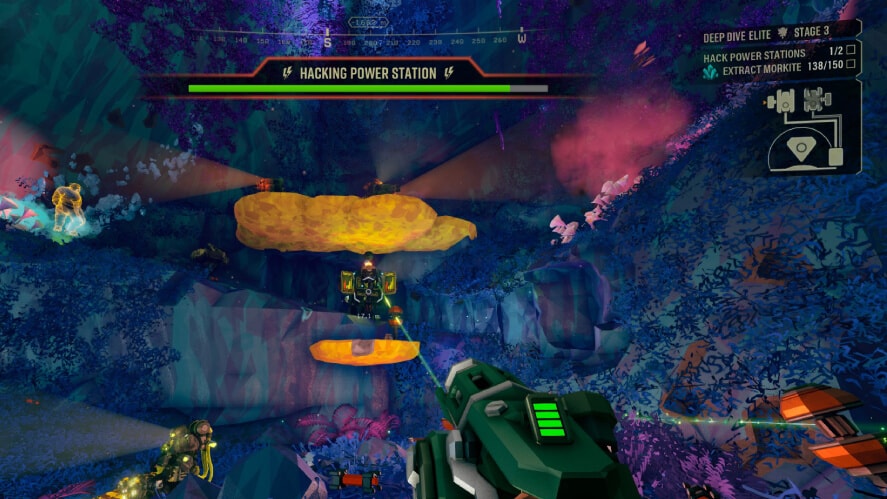
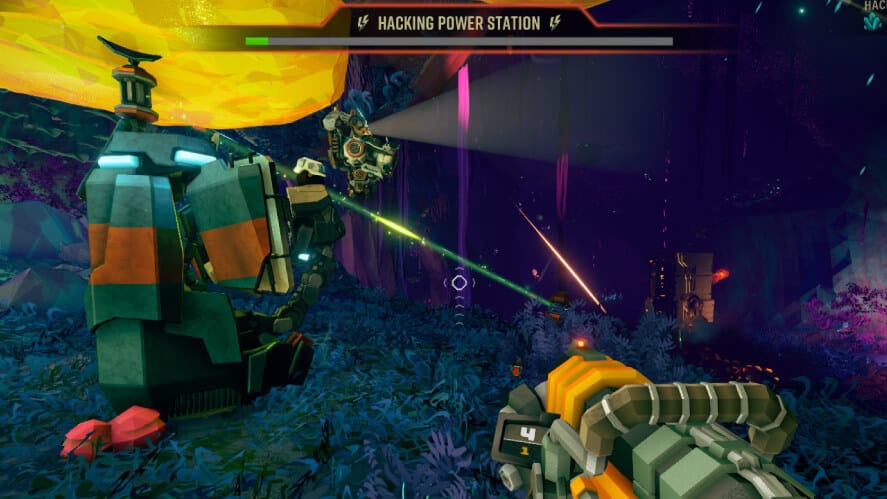
You can see the hacking process displayed on the top of your screen. Green means it’s hacking, and grey means it’s interrupted.
When the green bar is filled up, it’s time to Rock and Stone!
That’s everything you need to know about how to use the hacking pod in Deep Rock Galactic.
What do you want to know next? Let us know in the comment below!