
There’s a fair bit of both combat and puzzle-solving in Atomic Heart, and the ‘A Glass, Darkly’ quest showcases much of the latter early on in the game. This mandatory mission will take P-3 down into the basement of the nearby VDNH exhibition where a maze of magnetized platforms awaits. The puzzles might seem daunting at first, but they’re actually pretty easy if you take the time to absorb the surroundings. Either way, here’s how to solve the puzzles of the A Glass Darkly quest in Atomic Heart.
Steps to solve all A Glass Darkly puzzle solutions in Atomic Heart
1. Open the basement door
Screenshot by PC Invasion
On the entrance, look to the left and drag the Plutonium statue all the way back. This will open the floor hatch that leads to the basement where the rest of the puzzle will take place.
2. Room 1
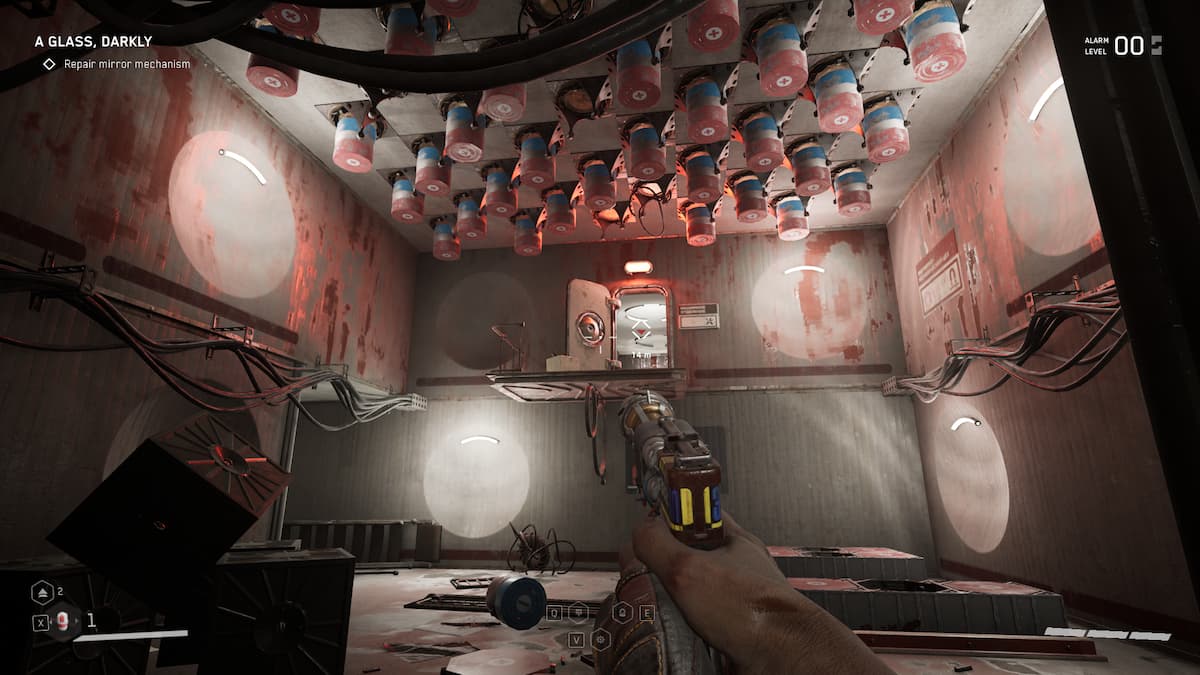
Screenshot by PC Invasion
Nothing special here. Stand on the magnets on the ground, zap the ones on the ceiling, then jump to the open door. Don’t forget to loot the containers in the hallway on the ground floor.
3. Room 2
Screenshot by PC Invasion
Hit the save station, drop down to the left strip of red floor magnets, then SHOK the ceiling. Use the now-elevated floor as a bridge to get to the door on the other side. There are a couple of containers to the left of the room as well as a dead body you can talk to. They don’t offer much, so feel free to skip them.
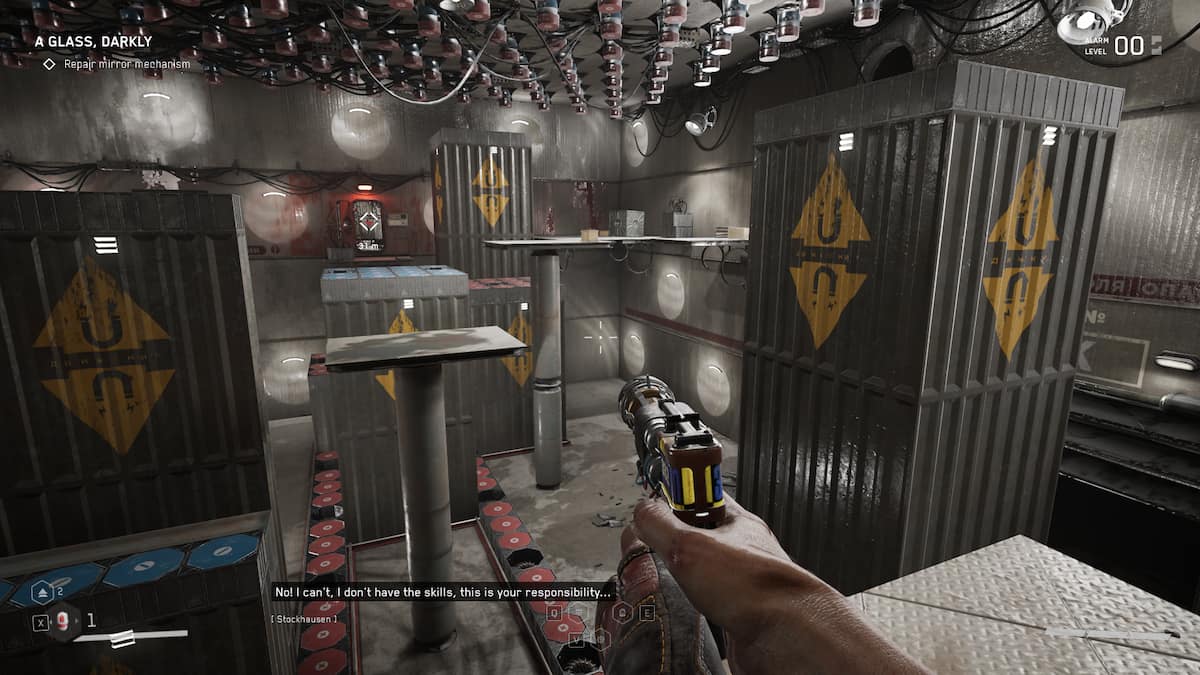
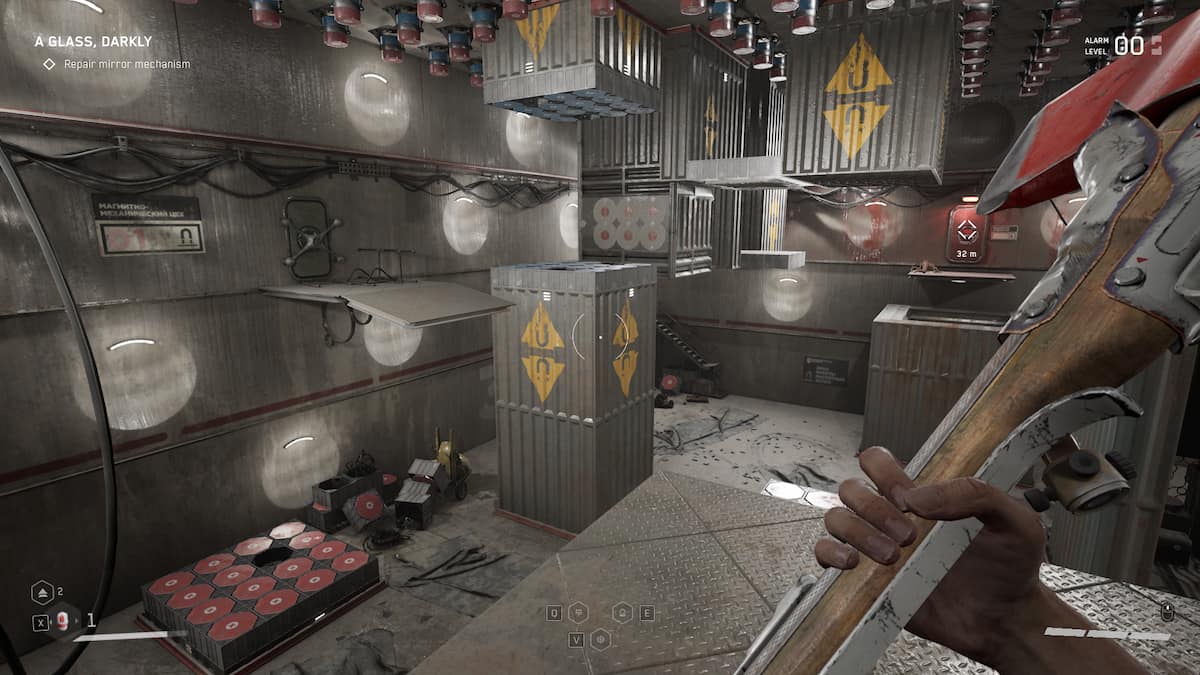
4. Room 3
Screenshot by PC Invasion
The next place to go in your hunt for puzzles to solve in the A Glass Darkly quest of Atomic Heart is Room 3. Whack the bots with your weapons and loot all of the containers first. Then, head to the center of the room and look at the floor to find a laser puzzle that unlocks the way forward. The rotation order is bottom-middle, bottom-left, then top-left.
For the magnet room, drop down to the red magnet platform on the left side of the room, SHOK the ceiling, then jump to the adjacent blue magnet platform. SHOK the ceiling again to raise the floor, and you’ll come face to face with another laser puzzle. The rotation order for this one is top-right then bottom-right; this will open the door at the end. After the laser puzzle, drop to the ground floor and loot the silver chest by the tall, red platform. Then, zap the ceiling and make your way to the exit door.
5. Room 4
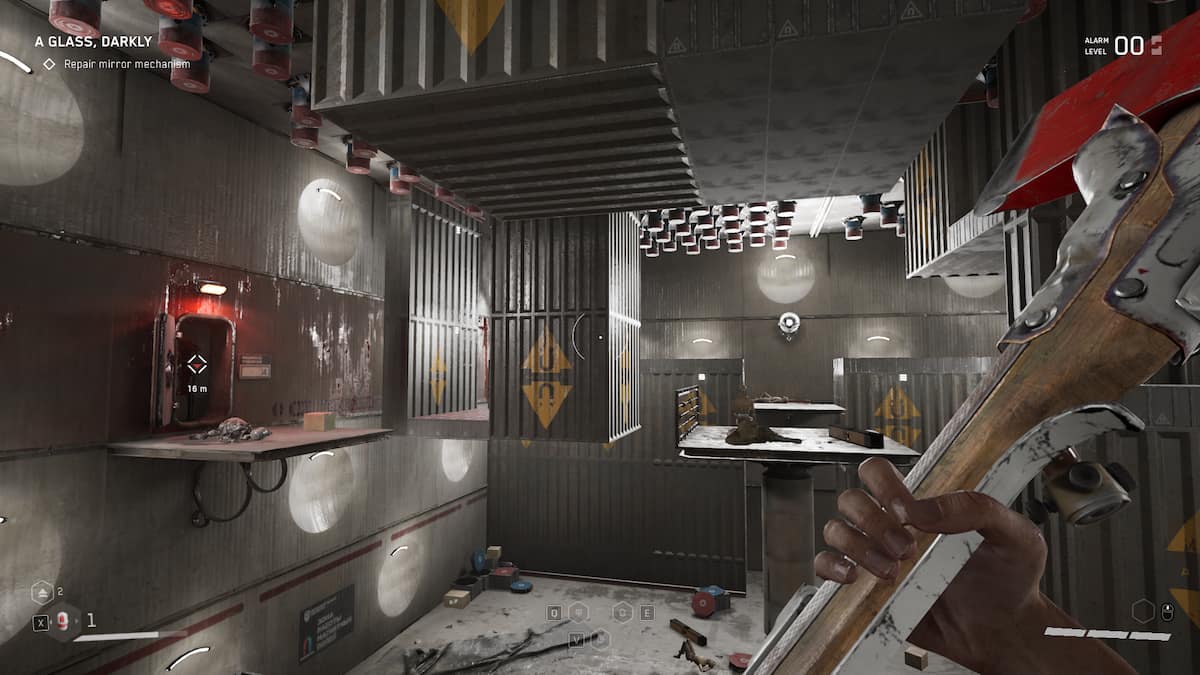
Screenshot by PC Invasion
You can skip all of the magnet shenanigans here by jumping and then dashing between the platforms. The timing is a little strict, but it’s completely possible, especially if the double-dash ability is unlocked. Otherwise, the puzzle is very straightforward — just keep zapping the ceiling and following the trail of platforms that rise and fall with every action.
6. Room 5
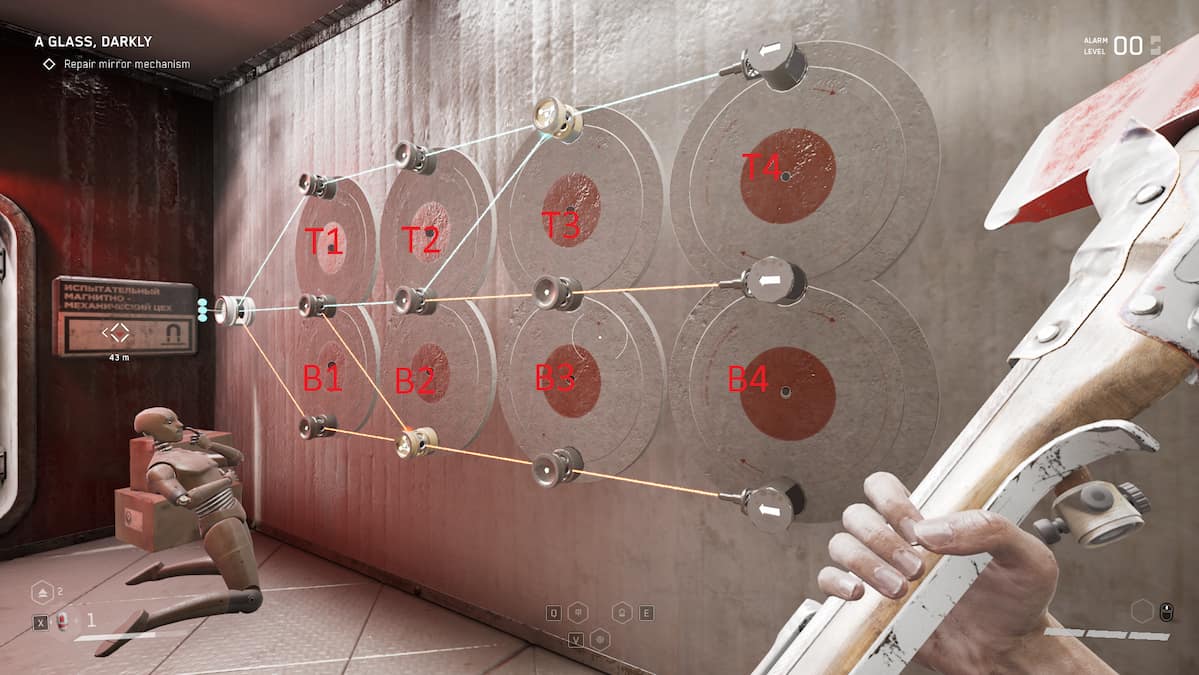
Screenshot by PC Invasion
The next obstacle is another wall-mounted laser puzzle. Since this one has four panels per row, we’re going to denote each one according to its position as per the image above. Then, rotate the panels in the following order: T4, T3, B2.
Screenshot by PC Invasion
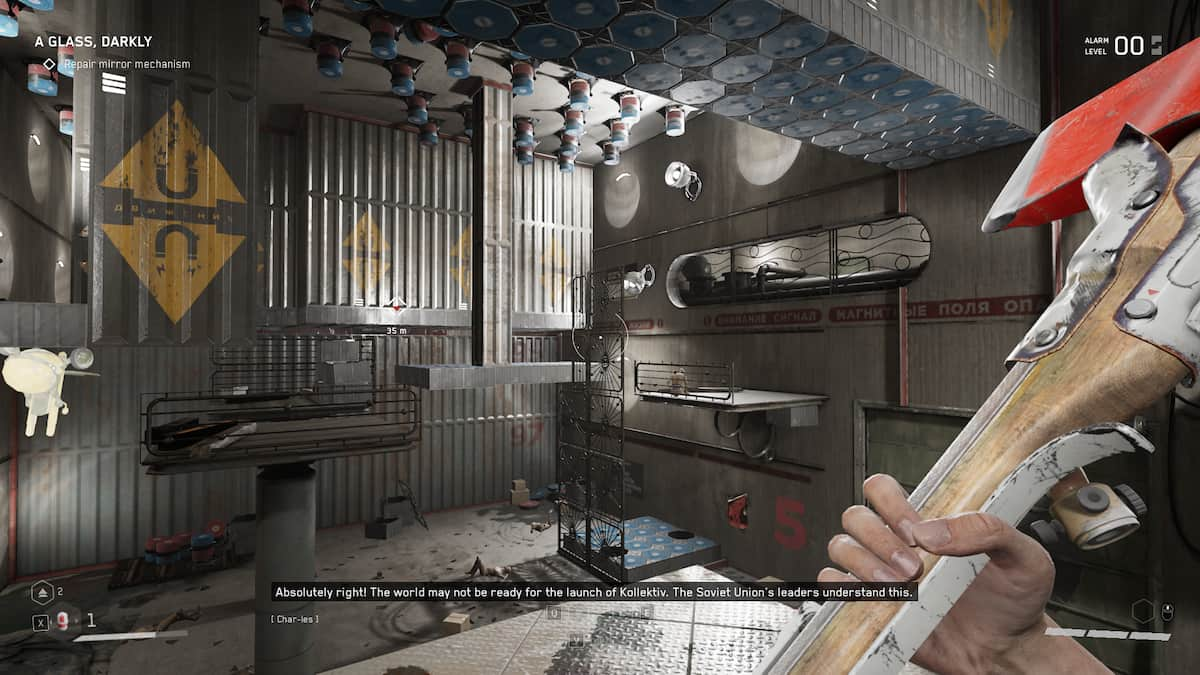
The door will lead to another big magnet room. Zap the ceiling, go to the blue platform on the floor, then hit the ceiling with SHOK again after moving to the static platform with the inactive robot. From here, SHOK the ceiling to lower a blue hanging platform right across the ledge. Jump-dash to it, then jump to the static platform on the other side — the one with the stack of crates. Make your way to the stairs on the far side, SHOK the ceiling, then hop onto the platform that drops. From here, it’s a clear shot to the exit door.
7. Room 6
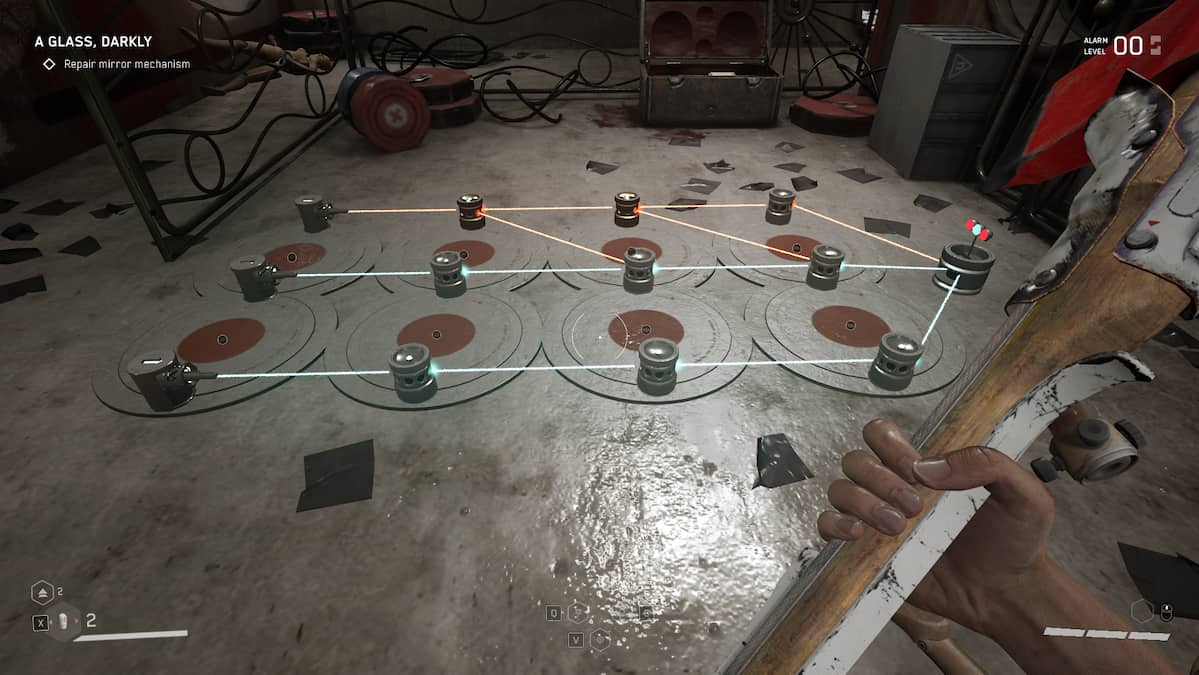
Screenshot by PC Invasion
The laser puzzle here is surprisingly simple: just rotate the third top panel and the door to the exit should open.
That wraps it up for the A Glass, Darkly puzzles in Atomic Heart. The door to the exhibition will be open by the time you get out of the basement.