
The Sinakawak Shrine in The Legend of Zelda: Tears of the Kingdom has an interesting set of puzzles involving using hot air balloons to find the solution. Some of them are more visually intuitive than others and might stump at first glance. If you need a little help to make the balloons fly in the right places, here’s how to solve Balloon puzzles in Sinakawak Shrine in Tears of the Kingdom.
The Sinakawak Shrine Puzzle Guide- Up, up and away
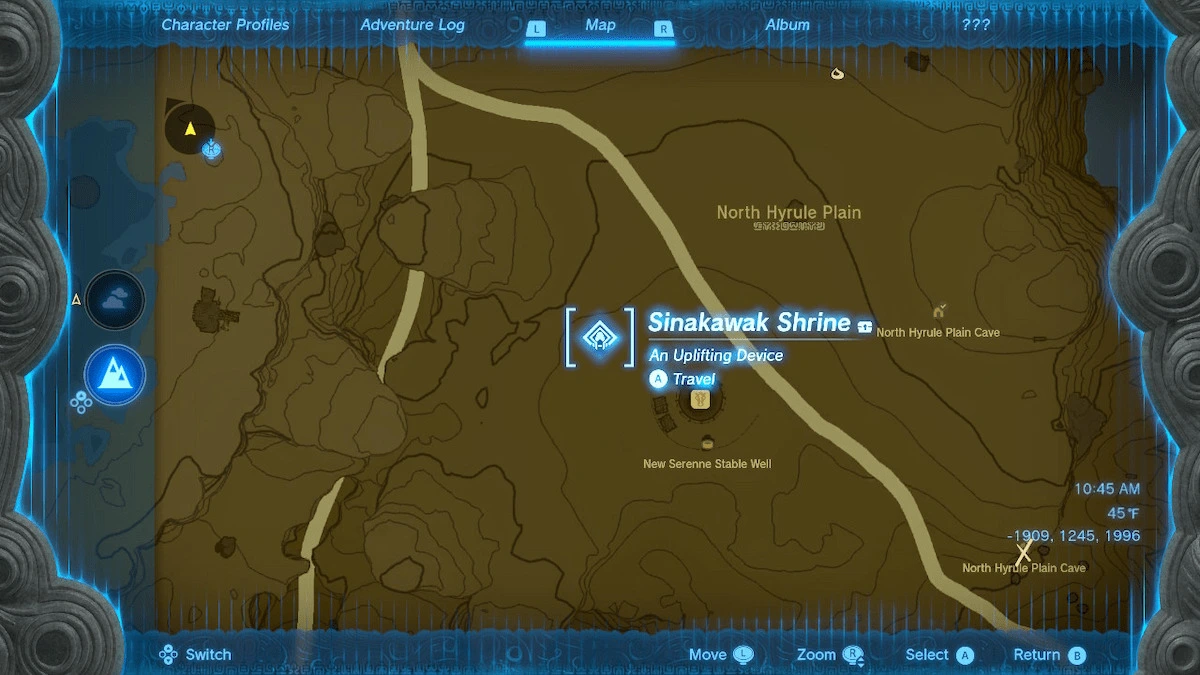
You’ll find the Shrine here in the North Hyrule Plains:
- Screenshots by PC Invasion
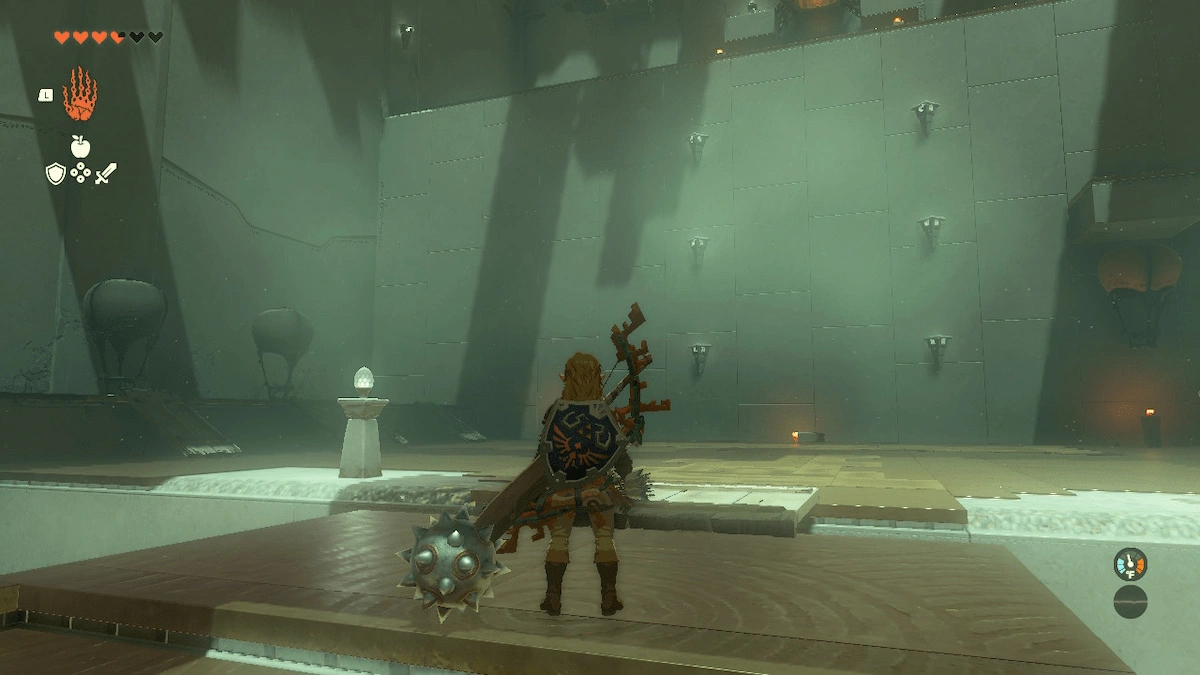
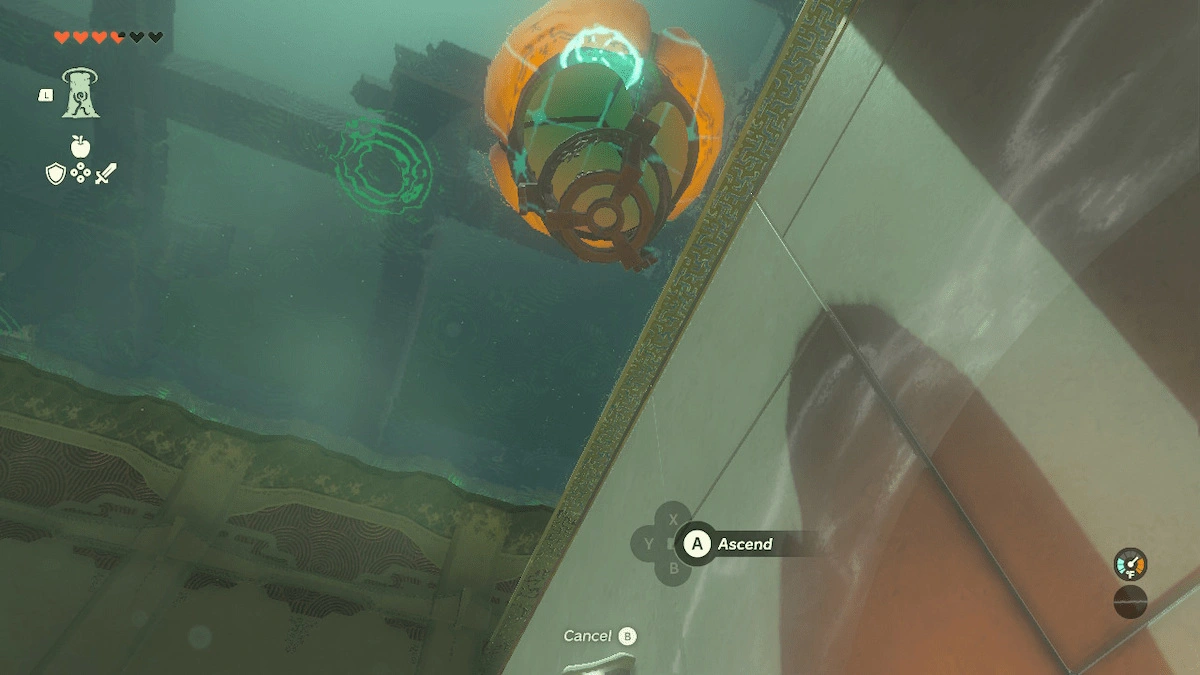
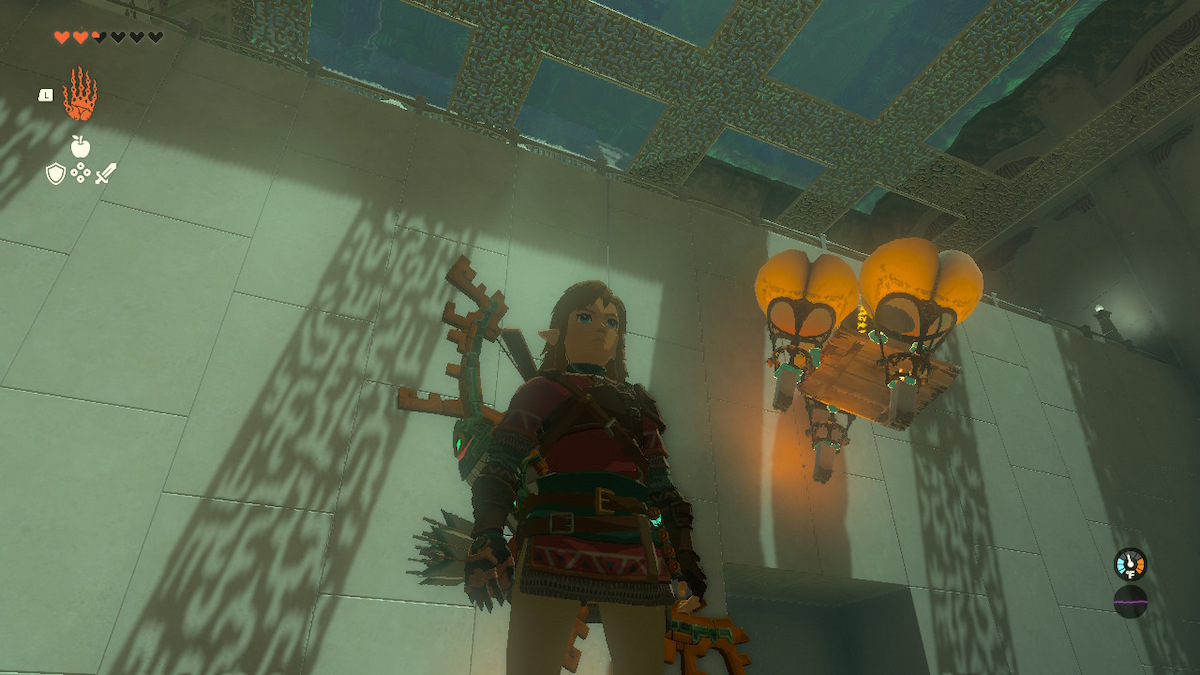
Oddly enough, the first room is much less straightforward than the second one. You’ll notice a balloon with a torch underneath a platform.
Screenshot by PC Invasion
You have to use this balloon to get up. You can Ascend through balloons if you line it up just right. So we need to get the balloon up on the platform and then let it fly up so we can go through it, but how?
Screenshot by PC Invasion
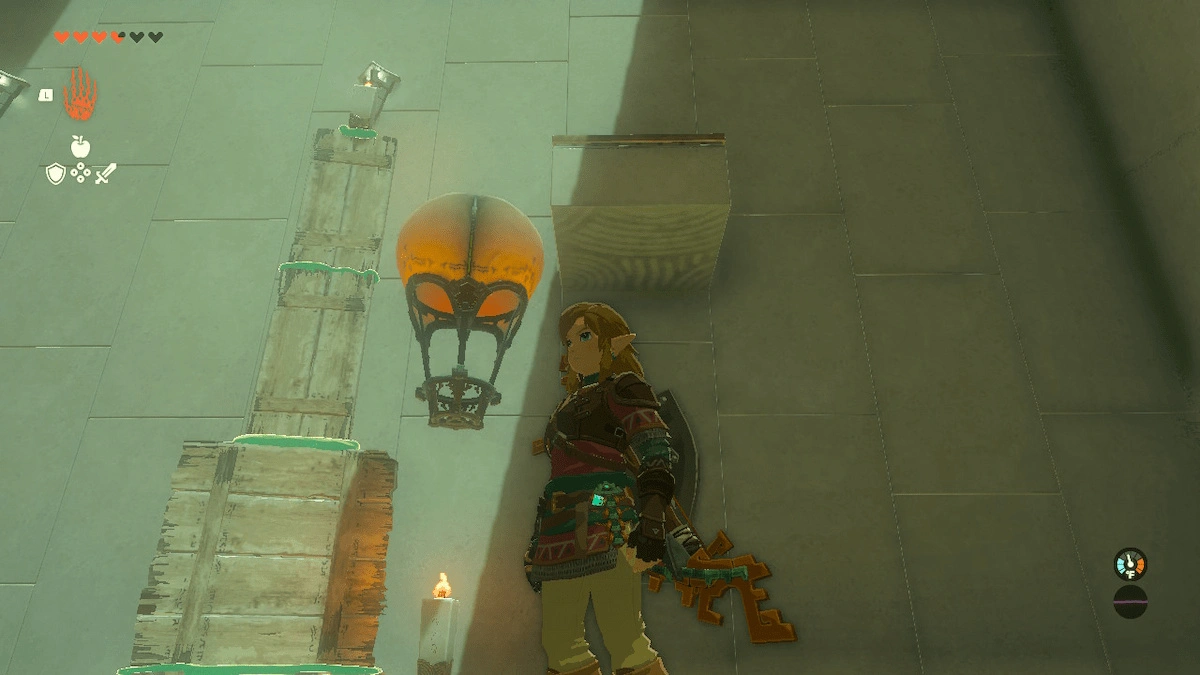
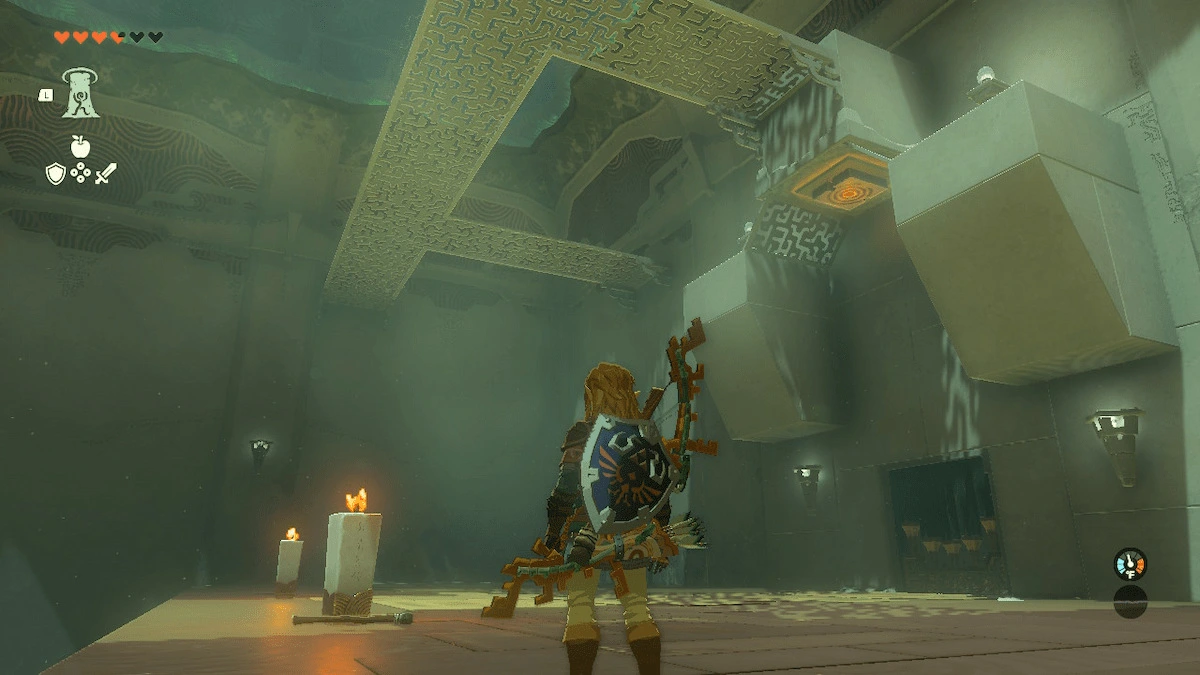
The best way I found to do it is this: Turn every wooden platform in the room into a tower, then attach a torch to it. Be very careful not to burn it in the process.
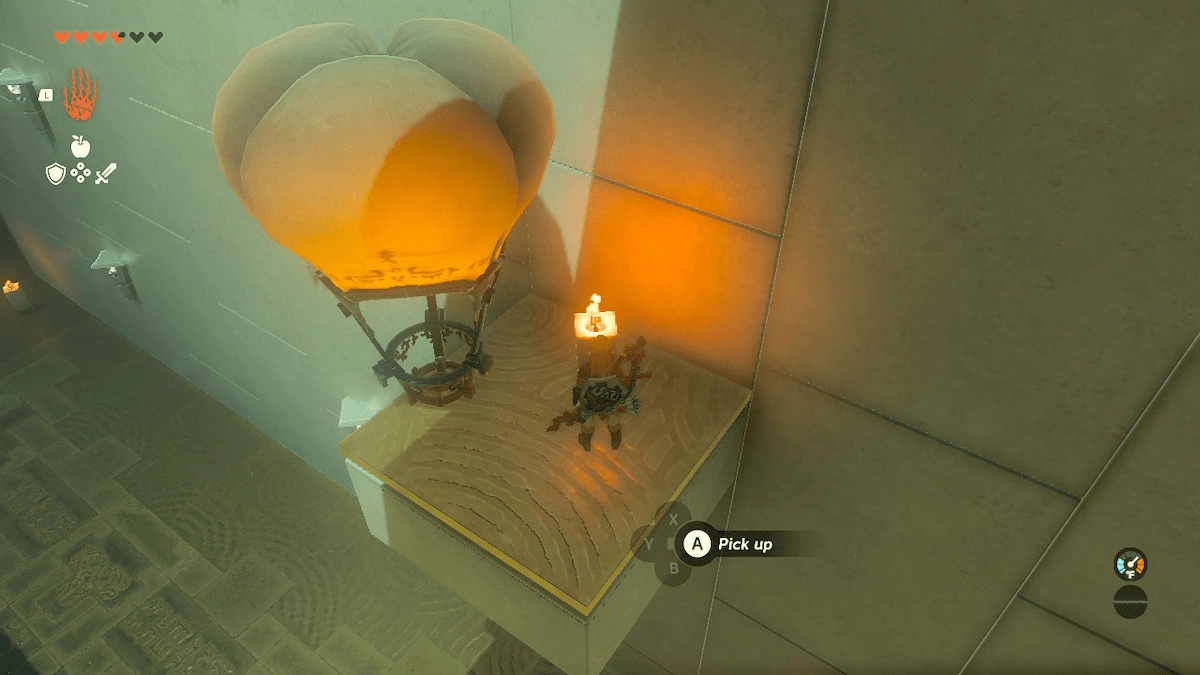
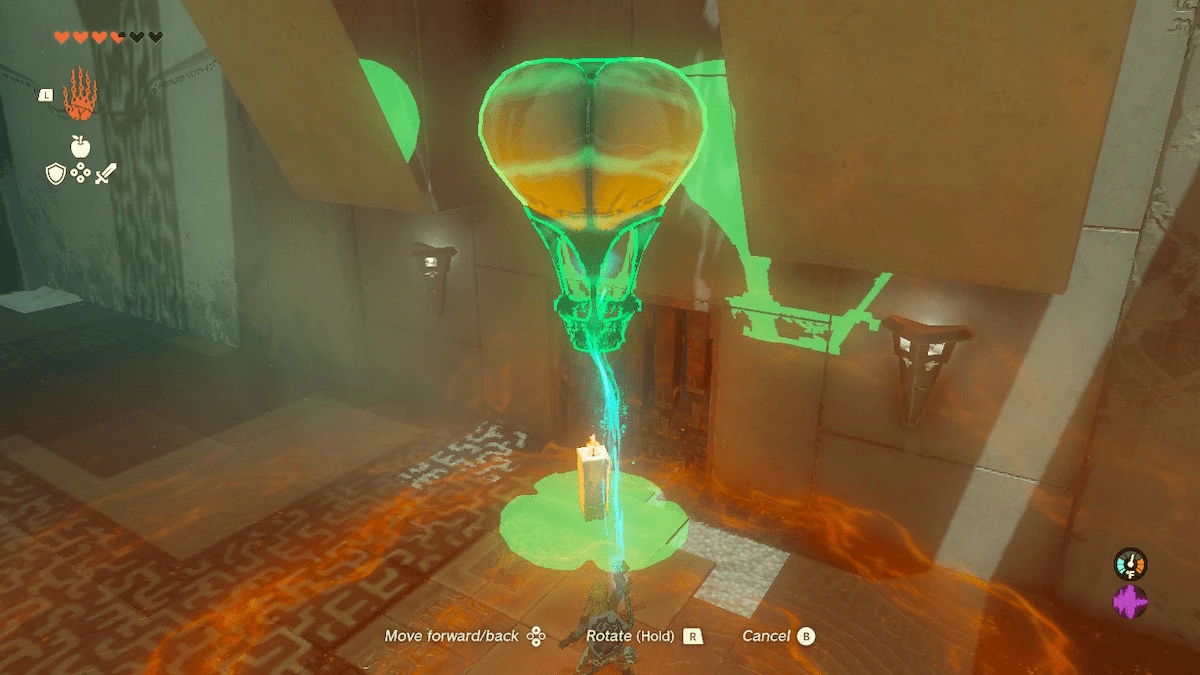
With this tower in place, you can move the balloon and torch out from under the platform and let it rise up. Then Ascend through the platform, grab the balloon, and set it down on the platform. Take the torch from the top of your makeshift Statue of Liberty and set it down on the platform.
Screenshot by PC Invasion
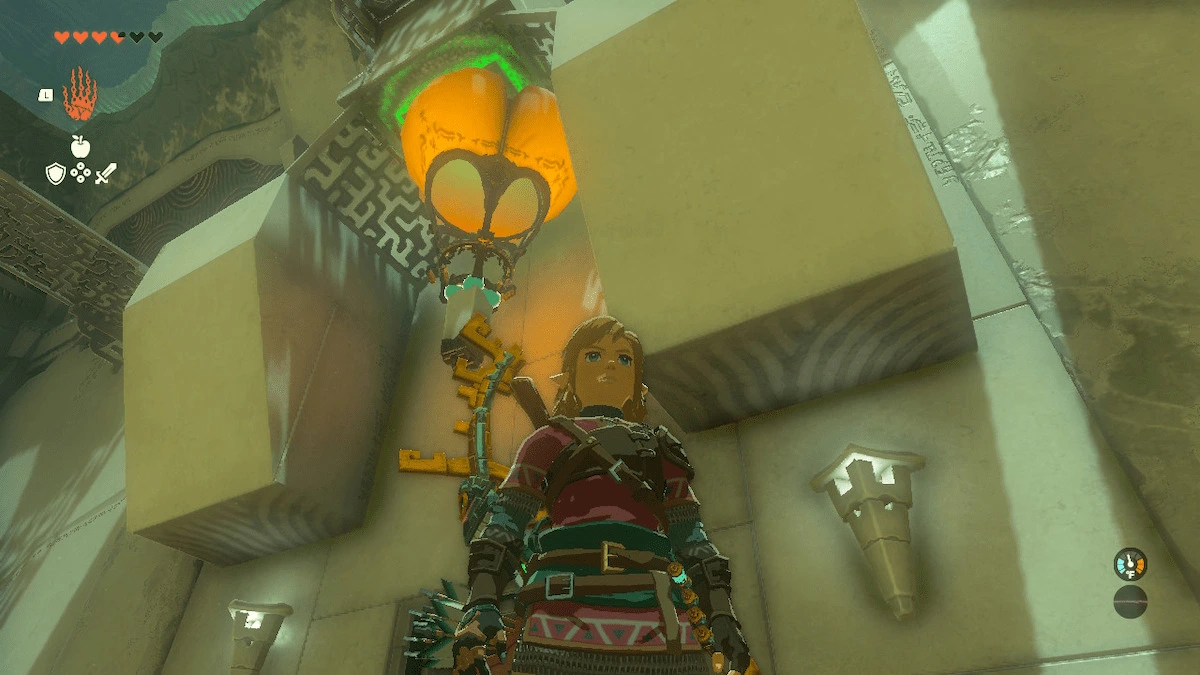
Now use it to rise the balloon up and Ascend through it.
-

- Screenshots by PC Invasion

Now we have another puzzle above waiting for us.
Balloon Puzzle 2 and 3
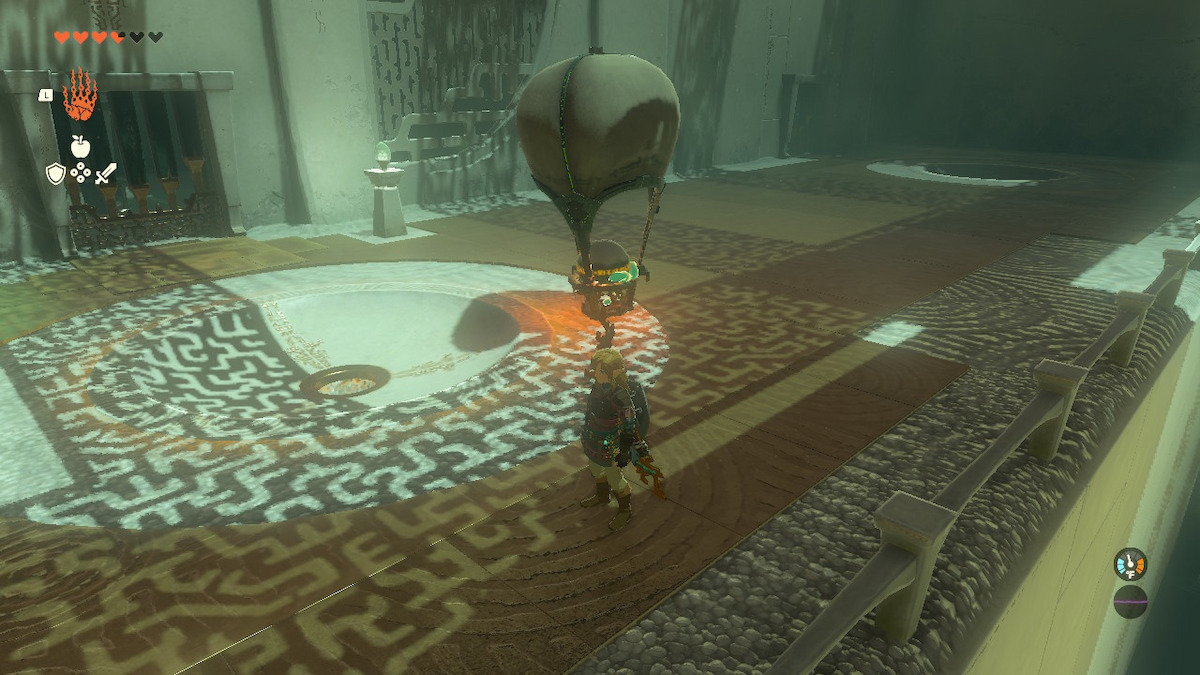
Screenshot by PC Invasion
This next puzzle is as easy as it looks. All you have to do is attach a torch to a balloon and set it free under the button to open the door.
-
- Screenshots by PC Invasion
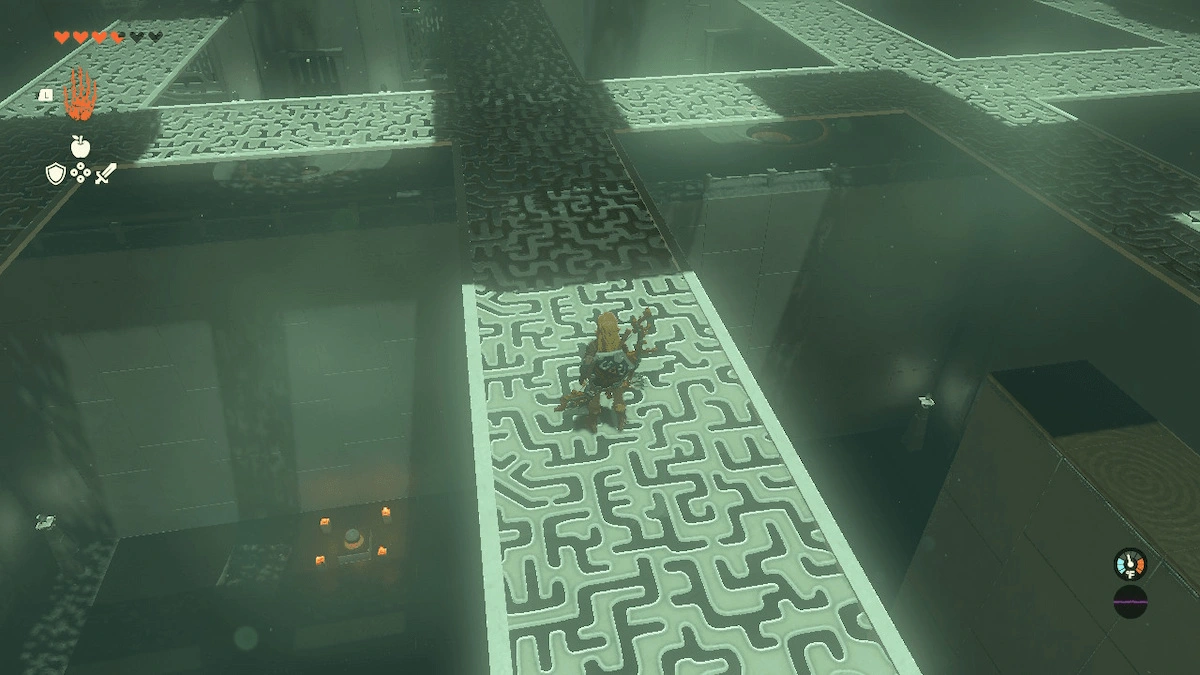
Moving on, the next room is quite large and divided between platforms above and a room below. You’ll notice two different pits for two different sized balls.
-
- Screenshots by PC Invasion
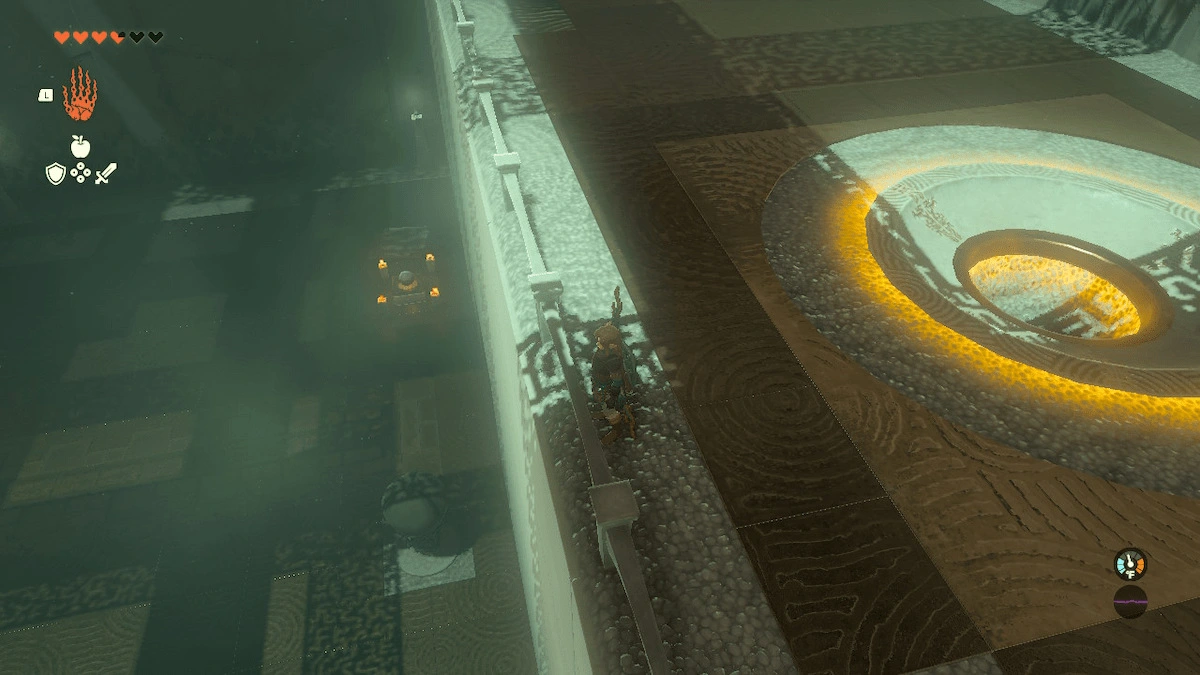
The first half of this puzzle is simple. There’s a small ball in the lower area. Attach it to a Balloon, then attach a torch and let it float up to the ceiling.

Screenshot by PC Invasion
Then go above on the platforms and grab it, rip the ball out, and put it in its respective pit to gain access to the exit.
-
- Screenshots by PC Invasion

It’s the optional chest where things will take more effort. You need to get the giant ball down below up above. What I recommend doing is this:
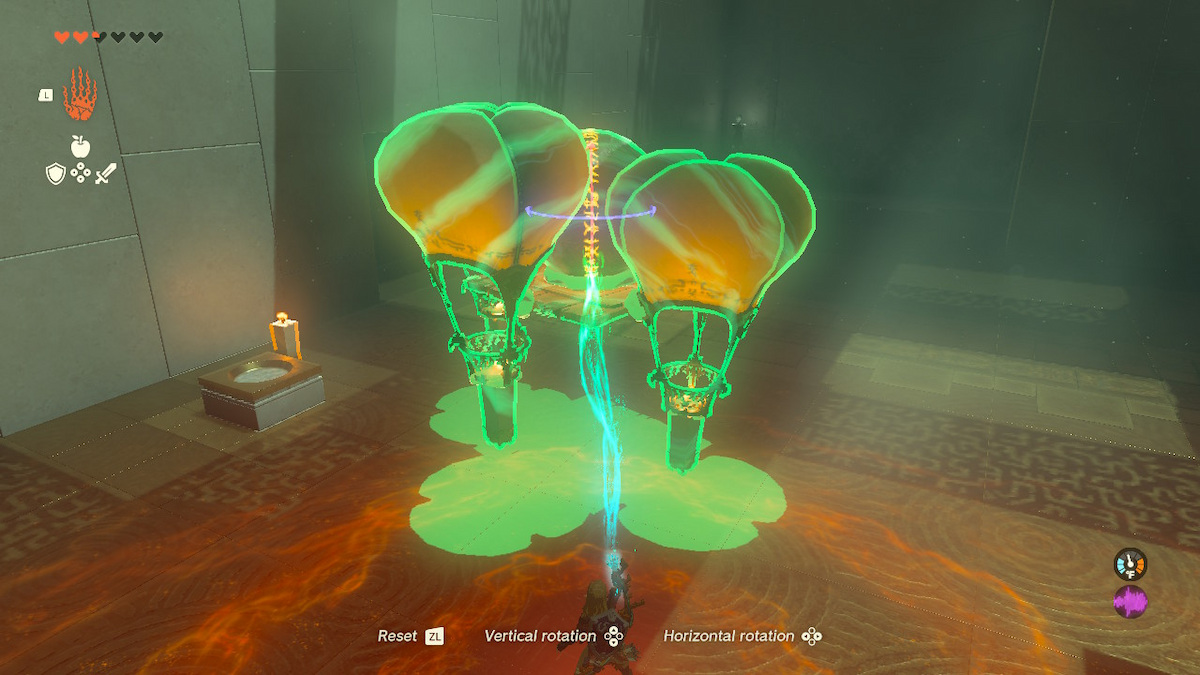
Screenshot by PC Invasion
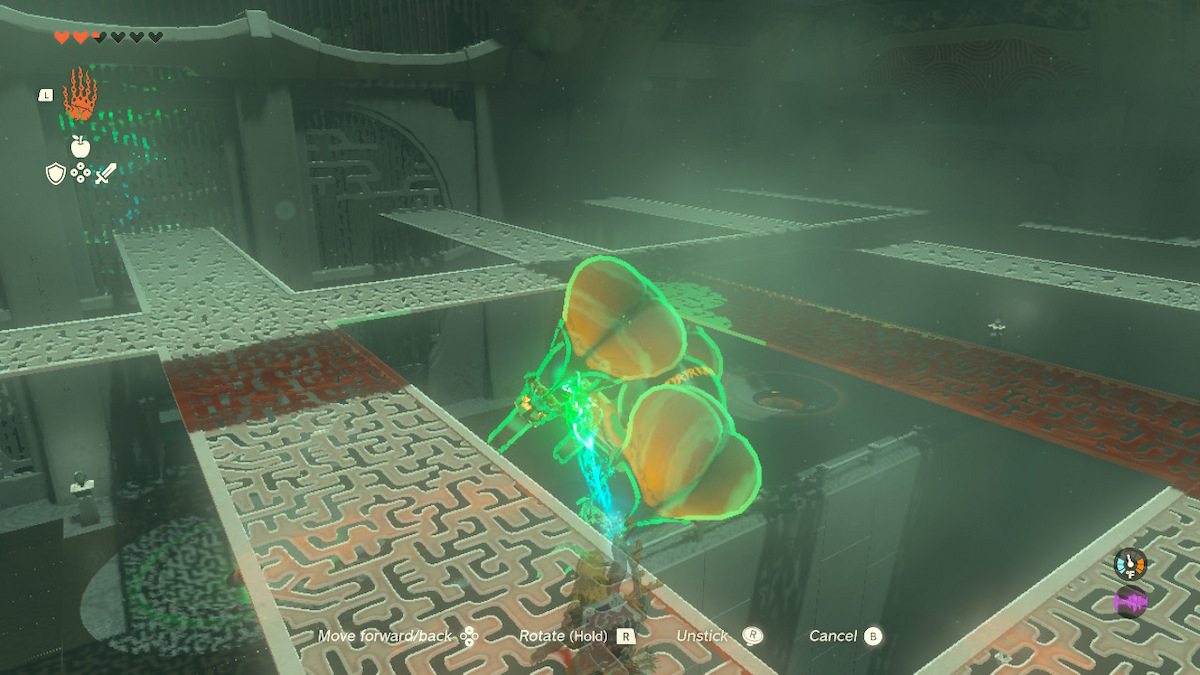
Attach it to the wooden platform, then flip it on its side. Attach three balloons to it, then three torches underneath, rotate it up and let it fly.
Screenshot by PC Invasion
Then retrieve it from above and rip off the ball, delivering it into the pit.
Screenshot by PC Invasion
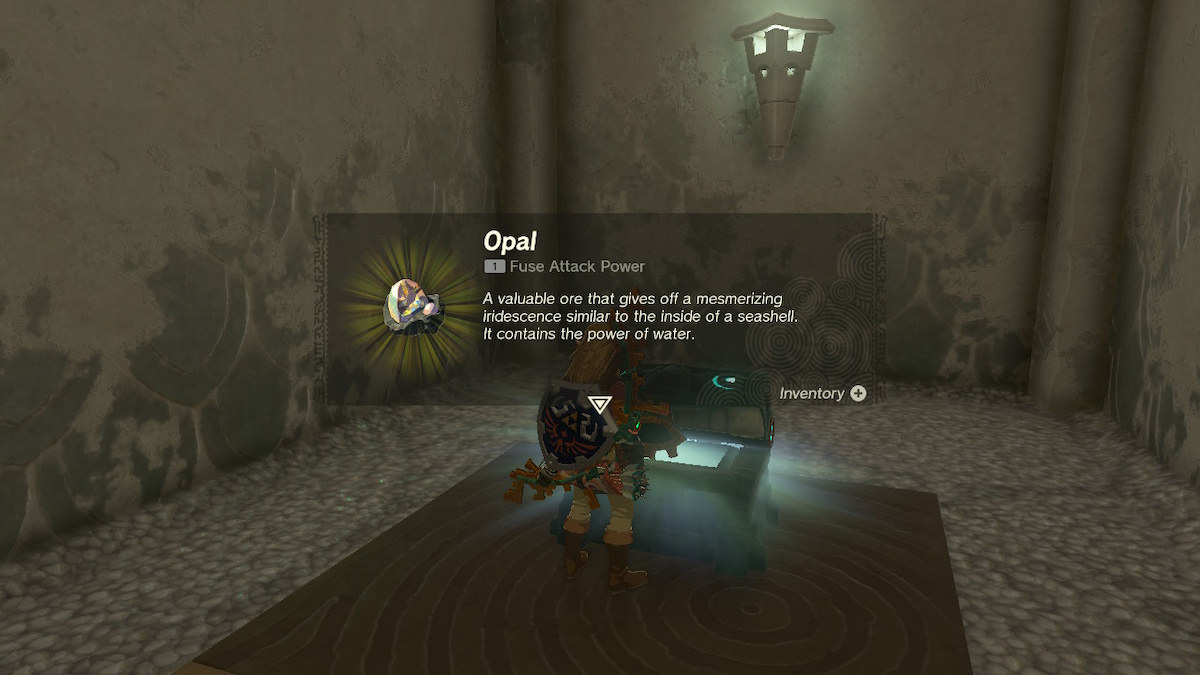
Now you can open the chest to receive an opal.
Screenshot by PC Invasion
Was it worth the effort? I leave that up to you.
Screenshot by PC Invasion
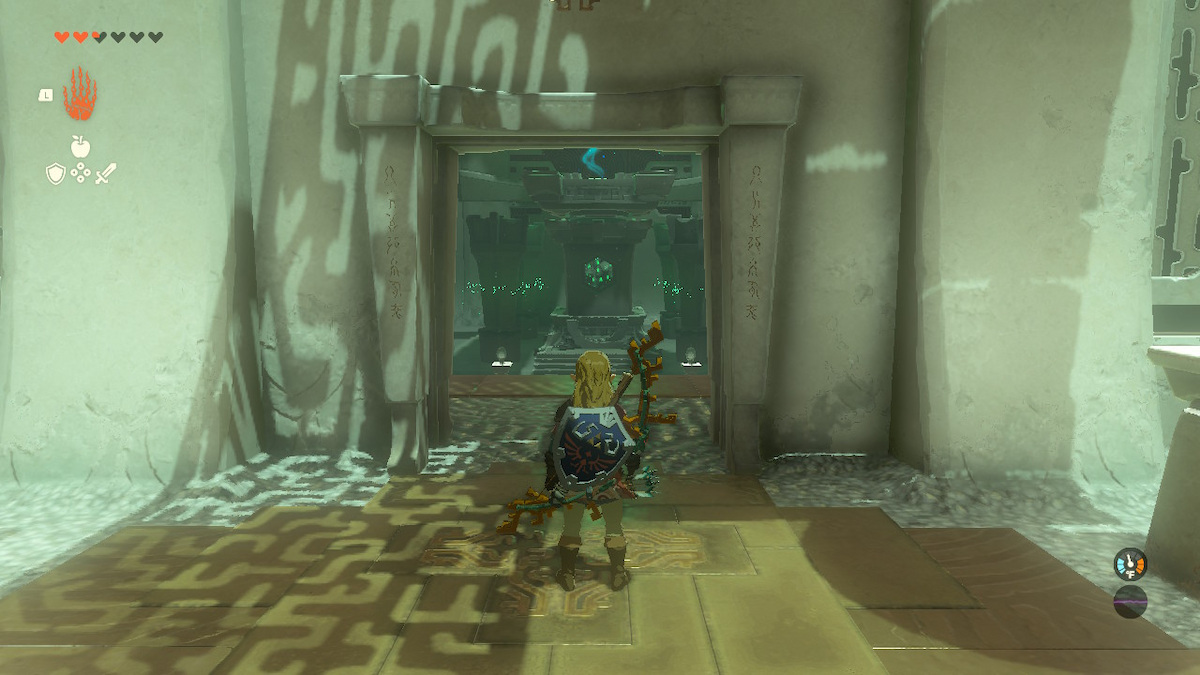
Either way, you’re done with the Shrine now. Go receive the blessing and press forward.