The House Flipper 2 campaign will let you enter a variety of homes in various states of disrepair. Once inside, you’ll need to perform specified task to improve the condition of numerous rooms, so that they will prove acceptable for their owners. There’s a lot to keep straight, and the game helps with the effort, but there’s more to learn than the tutorial text covers. Here are a few beginner tips to let you know about best practices as you start your house flipper career.
Embark on many quests
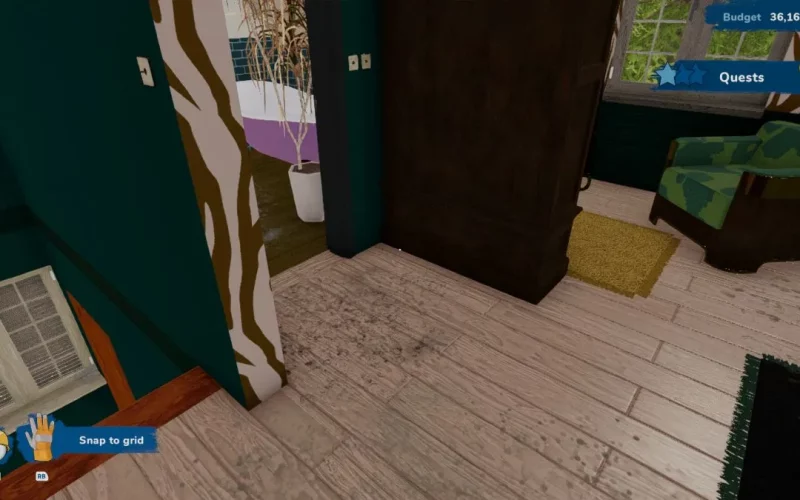
Different houses come with different objectives known as Quests. There will be series of quests in each relevant room within a building. The more quests you clear, the greater our earnings when you finish the stage. When you enter a new room, look for an indicator to let you know there are unfulfilled quests. The indicator is disc-shaped and yellow, with an “!” on it. When you see one, that means you can access the pause menu for a list of local Quests to complete in the surrounding room. Once you complete all quests tied to the indicator, it disappears. You don’t have to complete every quest to exit a stage (in general, you can leave as soon as you fill one of the three stars). More is better, though.
Settle on an order of operations
Your reasons for visiting each new environment will change. You may not have to do everything at one house that you did at the building before it. Early in the game, you won’t have all of your tools available. Even so, there’s a recommended order to tend to everything, if you encounter a busy room with lots to do:
- “Flip” any items you can, such as large dressers and lumber
- Throw out any garbage littering the room
- Clean any stains and grimy windows
- Demolish any walls that are marked for removal
- Paint walls indicated
- Refinish desired surfaces with tile or wallpaper
- Purchase desired furnishings
- Unpack boxes, as directed by client
If you take care of tasks in the order indicated above, ignoring any items that don’t apply, you’ll endure fewer inconvenient interruptions. Tend to one room at a time and complete all quests before moving onto the next room.
Shop smart
The store is stocked with enticing furniture and supplies. When you are flipping a house for a client, you can safely ignore most items the store sells. Only buy an item when you need to, as directed by a specific Quests menu on the pause screen. When you first access the menu, you will see a list of items under the Buy header that you must purchase to furnish the current room. Then you can (and should) purchase directly, without browsing the merchant’s full line of merchandise.
Clean obsessively
I mentioned an order of operations above. You might have noticed that several of the items on that list relate to cleaning. The reason for this is that some of your later activities may not be possible to complete to the client’s satisfaction unless you get rid of rubbish and grime. There are some definite best cleaning practices in House Flipper 2. In general, the idea is to be thorough. If you don’t scrub away all of a racoon’s paw print when you first start swinging your rag around, you may have a difficult time finding it later. You’re much better off if you clean thoroughly from the get-go, so you’re not left running through the house at the end in search of some tiny little task you missed.
Drag the trash along with you
Early in the campaign, you learn about the garbage bins you find outside buildings. They’re usually on the front sidewalk, or possibly in a garage. The problem is that those locations aren’t necessarily convenient. If you’re upstairs cleaning up a room, you might fill a few bags along the way. Taking stuffed garbage bags all the way outside is a pain. The good news is that you don’t have to. You can simply drag a trash bin along with you by using the Hands tool from the menu. Drop trash bags in the bin as you go from room to room and avoid a lot of backtracking. A bin doesn’t seem to be able to fill, either.
Keep the results of your demolition in mind
Sometimes, you’ll encounter a quest that asks you to tend to surface finishes or paint. These are more involved tasks, and you need to make sure to complete them to the client’s satisfaction. If you’re following the order of operations I mentioned above, you shouldn’t run into problems. Sometimes, though, you might get distracted. Keep in mind that if you Demolish a wall or build new construction, you may produce additional surface area. For example, there may be a new row of exposed brick. In such cases, the quest you might have previously completed will be updated. Then, you have to return and paint or resurface a little bit more area.