Kicking off a survival game like Project Zomboid might be overwhelming due to its gameplay diversity, especially for new players.
If you are new to Project Zomboid or want to recheck whether you missed any critical parts, let’s see what to do first in Project Zomboid!
Recommended Read: What Happens When You Die in Project Zomboid
In Project Zomboid, the first thing to do in the game is to select the spawn location and create your character, including Name, Appearance, Occupation, and Traits. Then, in the early game, you must find and loot as many items, food, bags, and weapons as possible, then look for storage and reinforce your base. Ultimately, the to-do list is entirely based on your goals since there is no constraint in Project Zomboid at all.
Table of Contents
What To Do First in Project Zomboid
The following guideline will walk you through the first creation of your character until the first day of the post-apocalyptic world.
1. Select Spawn Location
There are four possible spawn locations you can choose in Project Zomboid.
1.1 West Point, KY
West Point is north of Muldraugh, east of Riverside, south of Valley Station and Louisville.
West Point contains the highest zombie population in four locations, making it extremely difficult to survive in the early game. However, despite the dangers, West Point also offers a wealth of resources.
The town has many houses, stores, a police station, and other buildings, which can be looted for food, weapons, and other essential supplies.
1.2 Muldraugh, KY
Muldraught is a small town that is well-known for its low income.
Muldraugh contains many stores, houses, and trees, which is a dream place for someone who loves looting, finding, and crafting items.
If you choose occupations such as Park Ranger, Worker, or Police Officer in Muldraugh, you’ll spawn in a house with a fence, which is useful for protection in the early game.
1.3 Rosewood, KY
Rosewood is an ideal spawn point for newbies in the southwest of the map since the zombie density here is relatively low.
This can make it easier for you to move around and scavenge without being overwhelmed by the undead.
Rosewood also has some infrastructures, such as police stations and schools, that allow you to get books or damaged weapons easily in the early time.
1.4 Riverside, KY
Aside from the Ohio river, Riverside has good resource availability as it has a water supply, hardware store, and motel.
Riverside is also the second lowest zombie population spawn location, which is the other perfect place to start the game.
If you are new to Project Zomboid, we suggest selecting Riverside or Rosewood since they offer resources as well as better strategic positions.
2. Select Occupation and Traits
Occupation is the feature that allows you to choose a profession for your character, accompanied by advantages and disadvantages. Therefore, this selection can significantly impact your survivability in the game.
There are up to 22 occupations in Project Zomboid, including Unemployed. Determining which is the best is tough because there’s no one-sized-fit-all occupation.
But in our opinion, we’d suggest the following:
- Carpenter: Carpenter adds three carpentry skill levels, which allow you to build a secure base on the early game.
- Park Ranger: This occupation offers you an axe, which is an excellent weapon. Park Ranger also gives you one level of carpentry, two levels of foraging, one level of trapping, and a bonus to search mode. All of them made your early adventure more effortless and less dangerous.
- Doctor: You may find it difficult to deal with injuries. But you got problem-solved once you choose the Doctor occupation.
Now, let’s move to the traits section.
In Project Zomboid, there are positive and negative traits. Each has a different effect on your gameplay and plays a significant role in shaping your experience.
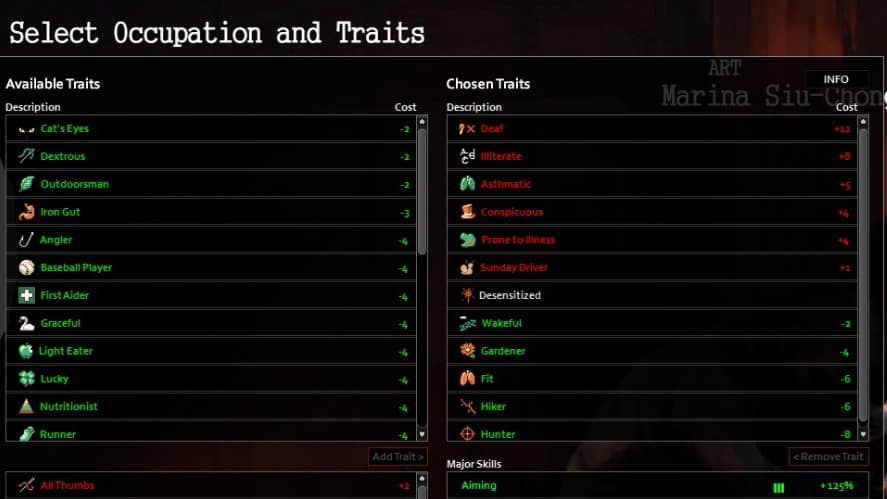
The number of traits might overwhelm you, especially when you’re a newbie. So consider our recommendations below:
- Positive Traits
- Lucky (-4): Increases the chance of finding rare loot and reduces the chance of tripping or falling.
- Light Eater (-4): Reduces your character’s hunger rate, allowing you to go longer without eating.
- Fit (-6): Increases fitness level and maximum endurance, allowing you to perform physical activities for longer periods.
- Negative Trait
- Weak Stomach (+3): Increases the chance of nausea or vomiting when eating spoiled or rotten food.
- Prone to Illness (+4): Increases the chance of the character becoming sick or infected and increases the panic level when injured or sick.
- Hight Thirst (+6): Increases your thirst rate, requiring you to drink more often.
These are our picks, so they might not be optimal examples for you.
You can select “Random” to let the game set the traits for you.
3. Character Creation
You must create a character to play Project Zomboid, no matter what game mode you choose.
The “Customise Character” screen allows you to determine your character’s name and gender. Simply type the name in the text box and click on the symbol that indicates the gender.
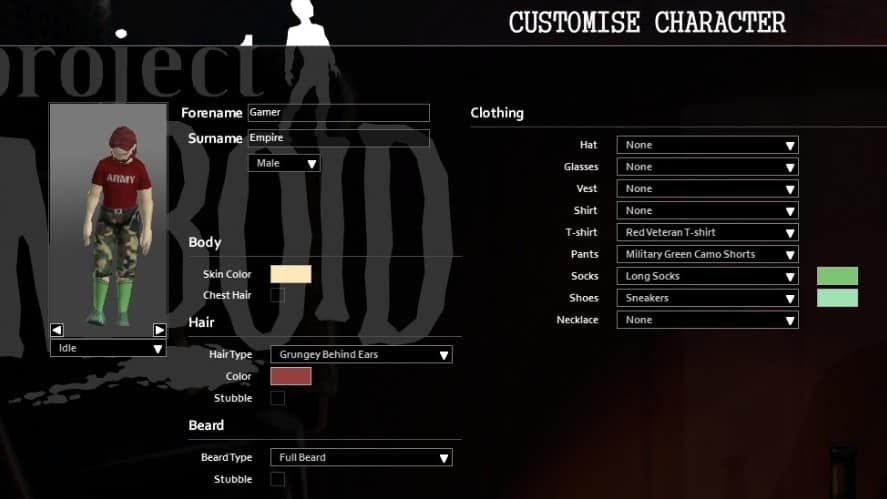
Next, let’s get your character dressed!
The game offers a lot of options for the character’s appearance, including:
- Body: Skin color, chest hair
- Clothing: Top (with color), bottom (with color), footwear
- Hair: Hair type (with color), stubble
- Beard: Beard type, stubble
The customization is fun and exciting, as you can customize it according to your tastes. On the other hand, you can let the game do everything by clicking on “Random” in case you’re impatient.
When everything is OK, click “Play”.
4. What To Do When Spawned
You will be placed in a randomly selected house in the locations you picked previously.
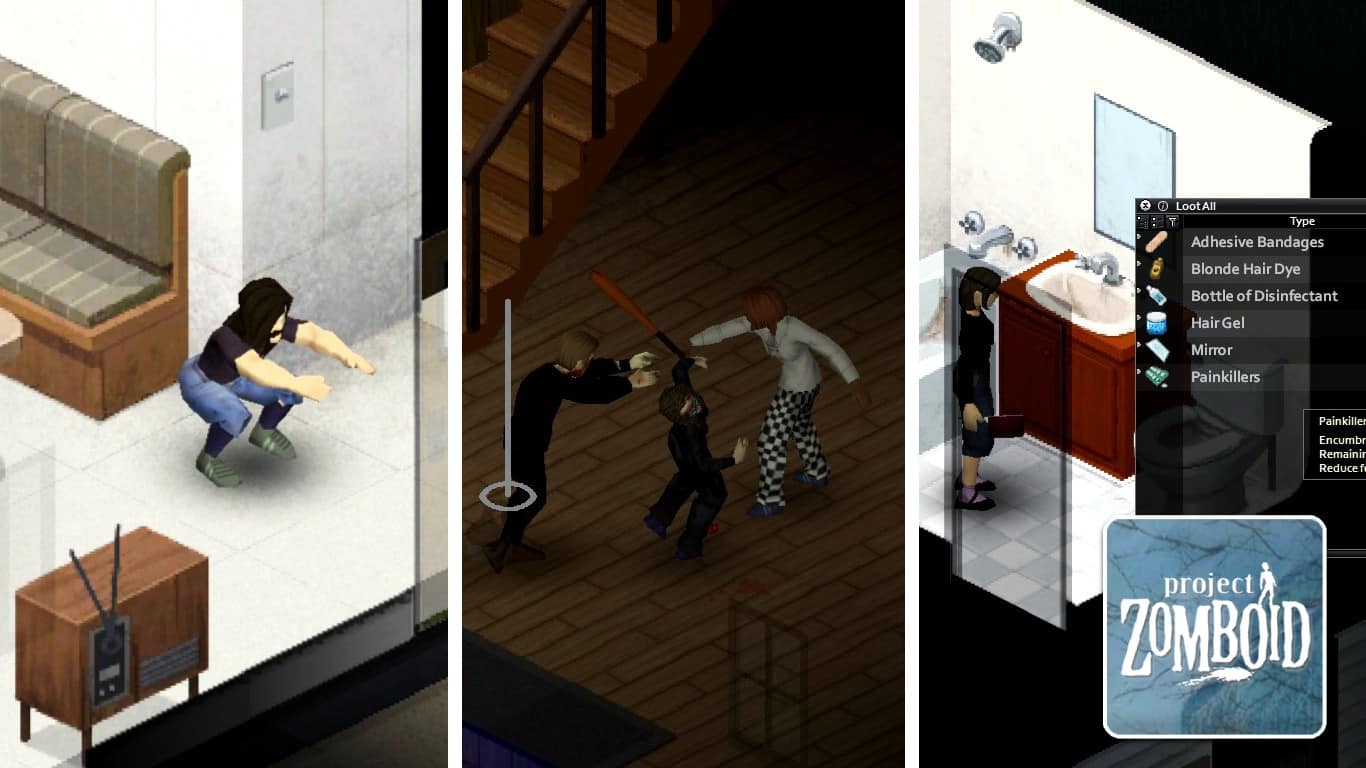
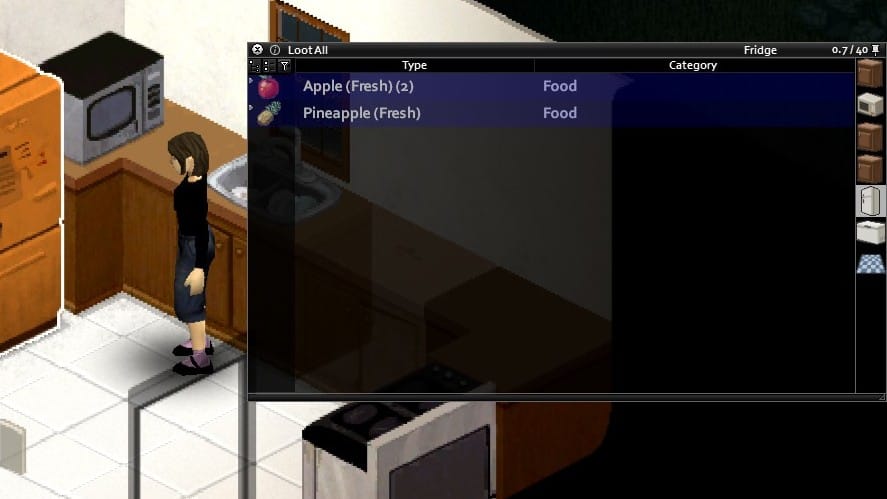
4.1 Find Foods and Weapons
You can walk around and check all cabinets for food or supplies, specifically in the kitchen. In addition, you need a bottle of water or any water container to stay hydrated all day.
Here is the food you can possibly find in your first house:
- Canned food: Canned Peas, Canned Corn, etc. You’ll need a Can Opener for those types of food.
- Perishable food: Dead Rats, Apples, Pineapples,…
- Snacks: Crackers, Tortilla Chips,…
Remember to prioritize perishable food first while preserving non-perishable one for later.
Next, go and search for weapons and bags.
A pan or saucepan works well, as it’s the most common weapon in the early game.
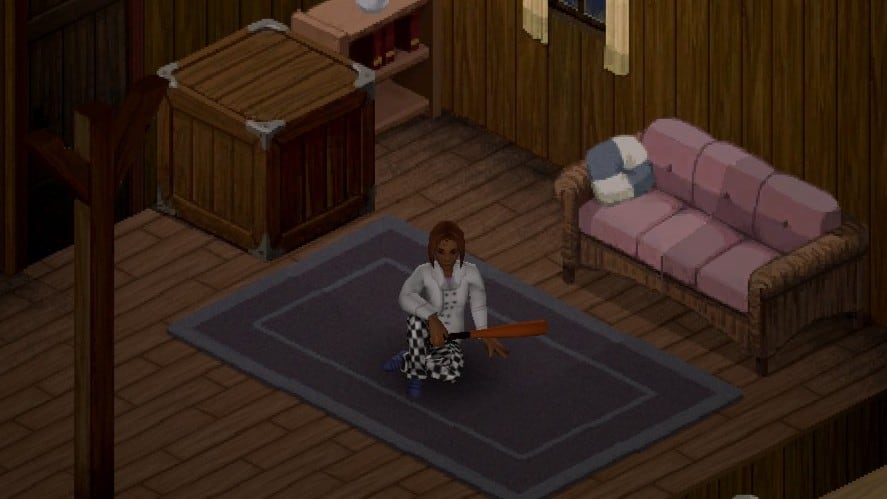
If you are lucky enough, you can find a baseball bat, as well as a hammer, which can be used for crafting later.
Guns, on the contrary, are inappropriate since they attract zombies. In addition, you need to practice first to level up your Aiming skill.
Right-click on the item and select “Equip Primary” to equip the weapon.
4.2 Find a Bag
The bag is the item you need to increase storage capacity.
Bags have a weight limit, which might slow down your pace. But it allows you to carry more items, and in Project Zomboid, the more items you have, the higher the survival chance.
You will spawn with a school bag if you choose the easy or normal starting difficulty.
In addition, you can find a hiking bag in cabinets and dressers in residential houses, which has more capacity and weight reduction.
4.3 Gather Supplies, Build a Base, and Explore the World!
Once you are equipped, you can go around the location and search for more items. Avoid fighting zombies as much as possible because this is the time to gather items, not battle.
With luck, you’ll be able to find more food and medical supplies.
Your next step would be to find a safe house. A safe house will provide a safe environment to plan your next moves. You can also use it for storage purposes.
Choosing a simple house with a fence is also important compared to other retail locations or stores. These bases contain multiple windows, so defending against the deadly outside is more challenging.
If you already have a hammer and nails in advance, it’s time to gather some sheets and barricade the window. This is the best strategy to hide from zombies.
Once your safe house is established, it provides a convenient location to store essential supplies. You can use the refrigerator and freezer to collect fresh and frozen food items, while canned food can be stored in cabinets.
Additionally, it’s important to gather any available medical supplies and store them securely within the safe house.
Press “M” to open the map and navigation, and note that it’s impossible to mark your house on the map unless you have pens or pencils.
You might see cars next to residential houses.
The car requires a key to operate, so make sure you enable search mode and carefully look for the parking lots nearby the car or inside the house. Cars give you better transportation and a temporary place to sleep.
Although the car’s engine is noisy and causes attention, it’s effective to ride it to lure zombies to other locations and then use a sneaky strategy to loot the place.
Check your inventory once again to ensure you carry enough necessary items. Now, it’s time to explore the post-apocalyptic world!
That’s what to do first in Project Zomboid.
Have any suggestions for this guide? Let us know in the comment section below.