
In the latest installment of Moving Out, players now have the option to easily set up Crossplay & Local Coop in order to play with their friends. Gone are the days of tackling moving jobs alone – now you can team up with friends across any system or console. The game’s multiplayer options extend to PlayStation, Xbox, PC, and even Nintendo. However, it’s important to note that this feature is not enabled by default and can be a bit tricky to find. But don’t worry, we’ve provided simple steps below to help you set up Crossplay & Local Co-Op so you can reunite with your friends in Packmore.
How to Set Up Moving Out 2 Crossplay & Local Coop
Follow the step-by-step guide below to set up Crossplay & Local Coop in Moving Out 2 and play with your friends.
Steps to Enable Crossplay
- Click on the Settings button to access the options menu.
- Navigate to the General tab.
- Check the box next to Enable Crossplay.
- Return to the home screen and click on the Online button.
- Switch to the T17 tab and click on the + (plus) button.
- Enter the ID that corresponds to your in-game name. For example, Popkorn#2210
- Your friend will be added to the game, allowing you to play Crossplay together.
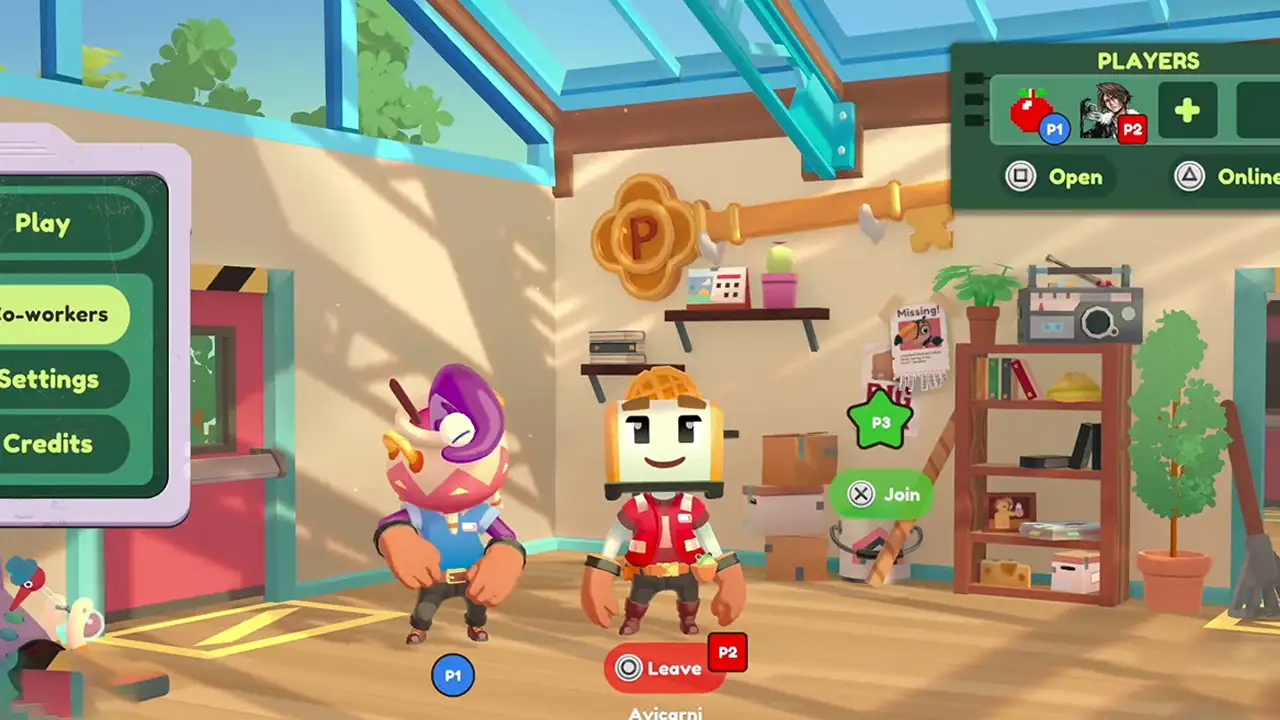
Steps to Enable Local Co-op
Playing Local Co-op in Moving Out 2 is a breeze – simply connect additional controllers to your console system. Then, log in to your account and in the top right corner you’ll find the option to add players to the game. Once all players have joined, click the Play button to start moving things around.
That covers everything you need to know about setting up and playing Crossplay and Local Coop in Moving Out 2. If you enjoy playing games like this, be sure to check out our list of the 10 best Couch Co-Op games to play. And for more tips and tricks, take a look at our other Video game guides.