
How to Defeat Malkomud The Wizard in Sea of Stars
You hear tales about Malkomud The Wizard long before you face him in Sea of Stars. When you finally reach your opponent, he doesn’t look like much, but you’d be unwise to underestimate a Wizard. The Malkomud fight is tough, and if you’re playing without assists, the battle can quickly turn south. But fear not, Solstice Warriors, let me show you how to defeat Malkomud The Wizard in Sea of Stars. If you’re just starting in Sea of Stars and are struggling with the Trials of the Mist, make sure you check out our dedicated guide.
Phase One
Your turns are always precious in Sea of Stars, so it’s important you’re always dealing the most damage possible. Malkomud resists magic but is weak to physical attacks, while the Salamander is the opposite. With this in mind, don’t boost Zale’s attacks against Malkomud. The Salamander still knows the Salamanger ability from earlier. It’s a nasty attack that hits two party members for almost 40 dmg. I suggest that you try to break the Salamanders bar whenever it comes up to soften the blow.
Phase 2 – Malkomount
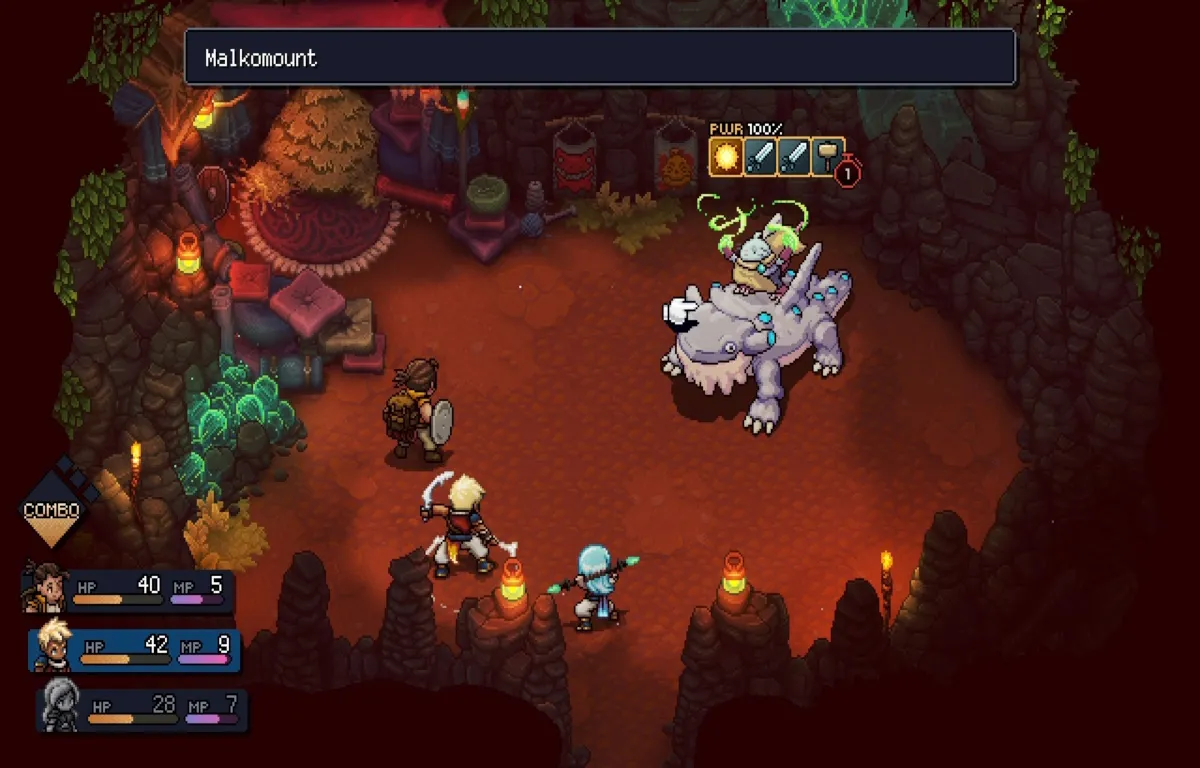
Your biggest concern is breaking the Malkomounts bar whenever possible. If you don’t, the boss will use an attack called Geobress. This ability does over 50 dmg and will usually kill whoever it hits. Fortunately, it’s only a single target ability, but if you can’t block it, try to keep your party’s health high to survive. Whenever Malkomount attacks without a bar, it’s going for a tail swipe. It’s a frustratingly tricky attack to block as it has an awkward timing. It’s not as dangerous as Geobress, but hits all party members for 15+ dmg.
Magic is the way to go when the boss is in this form. Valere’s Moonerang can easily do 70+ dmg in a single attack if your timing is good. It’s usually worth saving for the Geobress attack, as Malkomounts bar usually has several moons on it. Zale’s ability is also a solid option as backup. Let the Solstice Warriors take over damage dealing and rely on Garl’s Nourish ability for healing. Use food like Herbed Fillets if things get desperate, but if you’re on top of bar breaking, you should be able to keep the situation under control. The battle can turn bad quickly, so don’t sweat it if it takes a couple of goes.