All Collectible Locations in Star Wars Jedi: Survivor’s Loading Gantry
For completionists in Star Wars Jedi: Survivor, there are numerous collectibles scattered throughout the game. From Chests to Databanks, Priorite Shards to Jedha Scrolls, Seeds to Force Points, Fractures, and hidden bosses, there is plenty to explore. To ensure you collect everything, it’s best to clear each named location systematically. Here are all the collectible locations for Jedi: Survivor at the Loading Gantry outside of the Lucrehulk ship on Koboh.
All Loading Gantry Collectible Locations in Jedi: Survivor
Below is a map of the Loading Gantry with labeled locations for all the collectibles. Additionally, there are descriptions and supplementary screenshots to help you find these items.
All Priorite Shards
1. The first Priorite Shard can be found on the ground level of the large platform near the bog. To reach this platform, you’ll need to jump across a sinking block. Climb on top of the large cargo containers to locate the Priorite Shard.
2. The second Priorite Shard is also on the ground level. Head back to the Lucrehulk ship and find the landing above one of the wrecked AATs with an elevator access point. From there, carefully make your way around the storage tanks on the left-hand side to discover a hidden nook where the Priorite Shard is located.
3. The third Priorite Shard is found in the Lucrehulk above. If you have access to the lift, use it to reach the open hanger area where the chest is nearby. If not, progress through the level until you reach a large room that resembles a hanger ripped in half, known as the Hanger Rafters in-game. Look for a ramp leading down one level in the main hanger. The Priorite Shard can be found under the ramp.
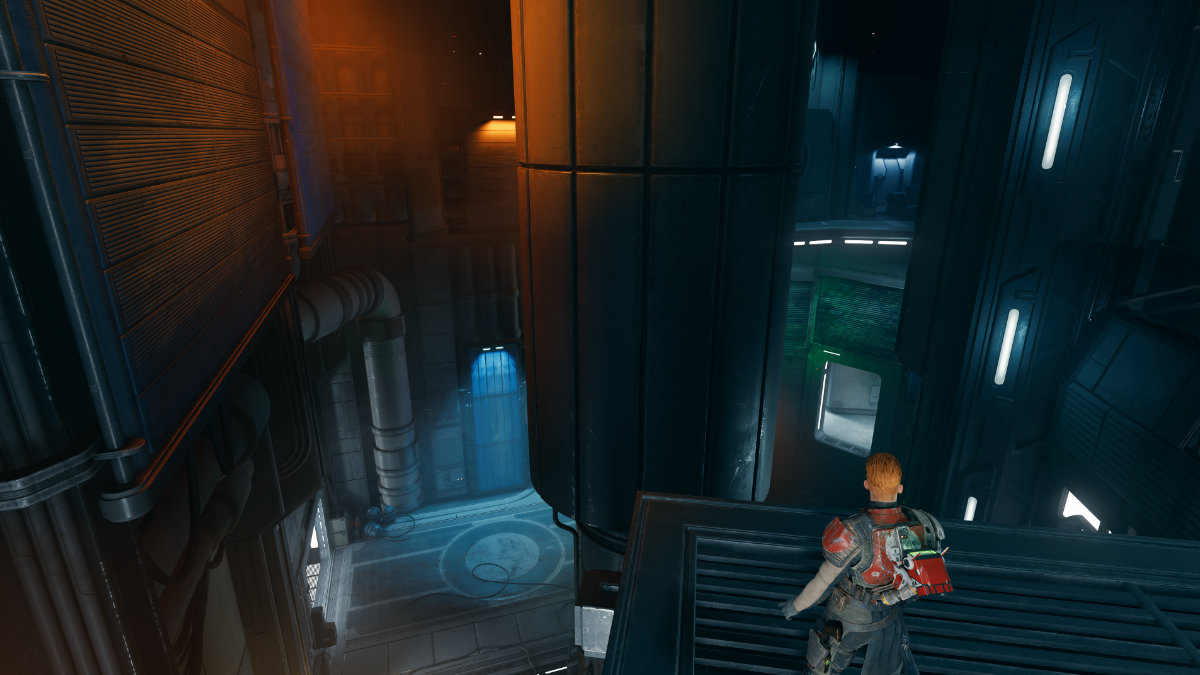
4. The last Priorite Shard is on the upper maintenance decks of the Lucrehulk. After the Magnaguard fight in the final room past the two Bedlam Raiders, you’ll enter a room where the Bedlam Raiders spawn. On the bottom level of this room, there is a small platform where you can spot the twinkle of the Priorite Shard. Defeat the Bedlam Raiders and then claim the Shard. Alternatively, you can grab this Shard after obtaining the last mentioned chest.
All Databank Entries
Here are the locations of all three Databank Entries in the Loading Gantry of Jedi: Survivor:
1. The first Databank Entry is on the ground level near one of the beige AAT tanks. It’s situated near the center of the area and hard to miss.
2. The second Databank Entry can also be accessed from the ground floor. There’s a landing directly above the same tank, which you can reach via a ramp. Approach the storage tanks on the left side to find the Databank Entry.
3. To find the last Databank Entry, head towards the direction of the bog, following the same path you took during the first playthrough. Climb onto a piece of wreckage to discover the Databank Entry.
All Chests
Here are the locations of all the chests in the Loading Gantry:
1. The first chest is on the ground floor, past the tanks, on the large platform at the edge of the bog. Jump onto a sinking block, and then to the platform. Take a left around some storage crates, and you’ll find the chest at the end in the open. It contains the Short Goatee hairstyle for Cal.

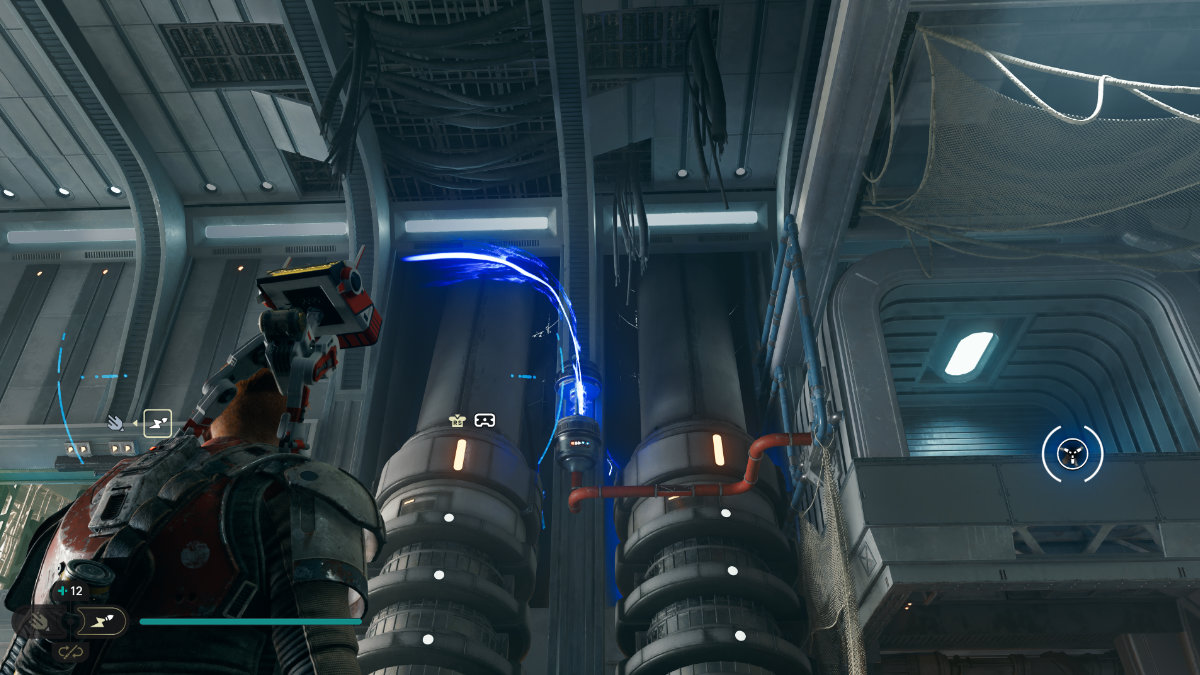
2. The next chest is inside the Lucrehulk ship. If you have access to the lift, use it to reach the open hanger area where the chest can be found nearby. Otherwise, progress through the level until you encounter a large room resembling a hanger ripped in half, known as the Hanger Rafters. In that room, there is a small room above the lift containing the chest. To access it, use BD-1’s Electro Dart ability to activate a nearby power coupler, which opens a grappler leading to the room. This is where you’ll find the color patterns for the popular Commander outfit pants.
3. One level above the previous chest is a hallway with electrical currents arcing freely. At the far end of the hallway, facing the ship’s interior, you’ll find another chest. Wall run to the platform on the other side of the electricity, drop down, and air dash into the room to retrieve the chest. Inside, you will find the Enforcer blaster barrel.

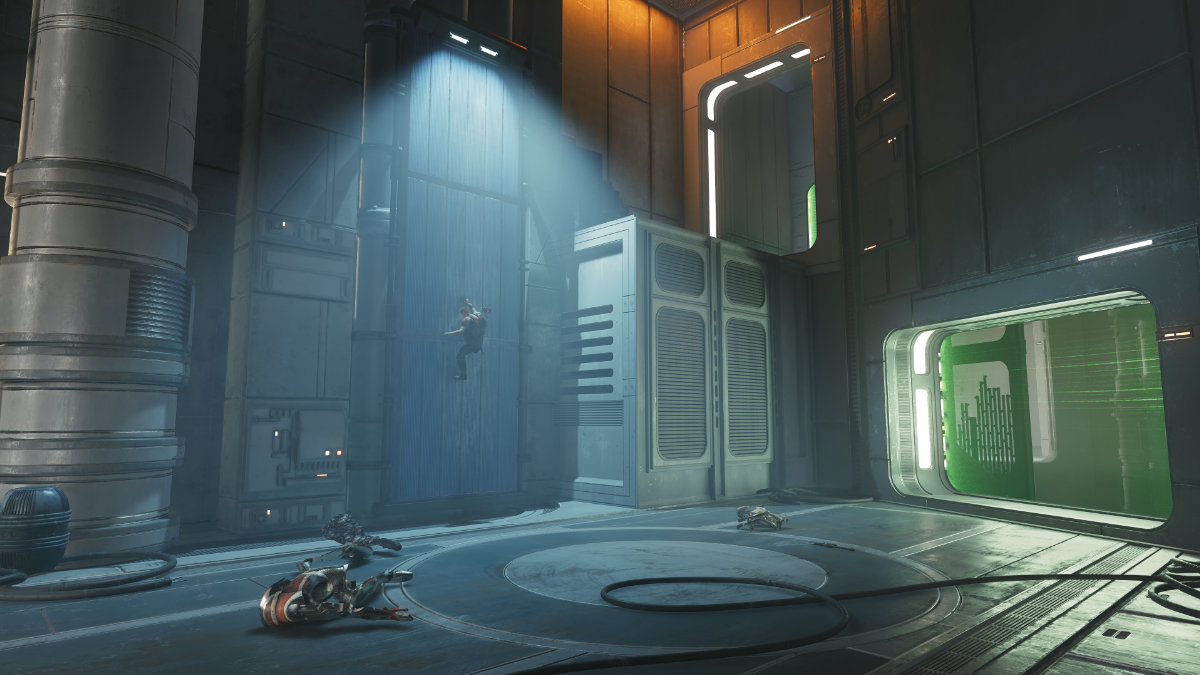
4. The last two chests are on the upper maintenance decks of the Lucrehulk. After the Magnaguard fight in the final room past the two Bedlam Raiders, climb up the walls to reach the maintenance deck above the room where the Bedlam Raiders spawn. From there, perform a jump dash through the ray shield and wall-run to reach a recess. Mantle back and forth to ascend to the next level and find the fourth chest on the maintenance platform at the top.
5. Continue to the left from the previous chest to reach the next platforming section. You’ll need to wall-run, jump to a vertical wall, and then transfer left to another wall-run before transferring again to reach the far platform. Before opening the chest, make sure to destroy the droids in stand-by mode. You can also slide down a wall from that platform to exit this section.

That’s all the collectible locations in the Loading Gantry of Jedi: Survivor. If you’re looking for more customization styles, be sure to check out our guide on where to find all the Priorite Shards at Rambler’s Reach. Additionally, we also have a guide on the locations of all 18 Bounty Pucks related to bounty hunters.
